Saturday, August 18, 2018

A New Fish Joins The School

I've been experimenting with creating stuffed fish for children's toys.  I decided it was time to add another fish to the collection.


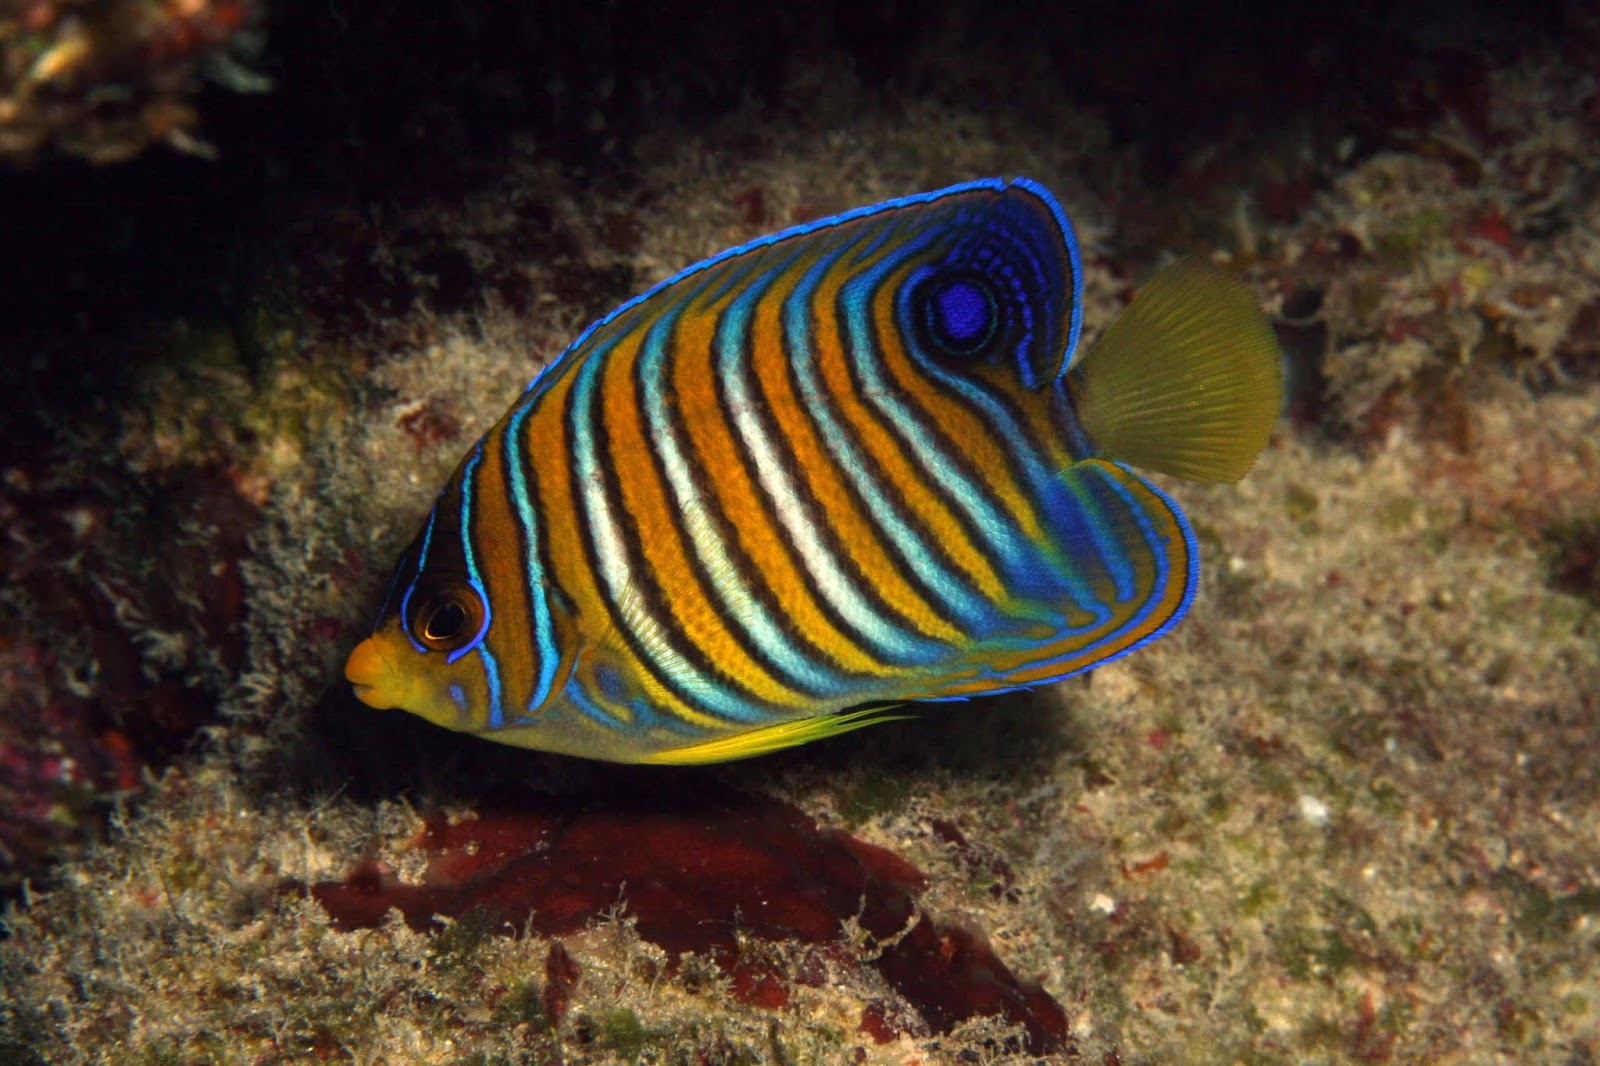
This fish is a Regal Angelfish, another colorful Indo-pacific species.

The process begins with a photograph, again one of my own.

Using Floriani Total Control embroidery design software, I'm able to define lines and regions from the photograph and then figure out how to embroider them.  Since the fish is more orange than any other color, I'm starting with plain orange fabric.

Once the embroidery design is complete, I end up with a file like this:


Now all that remains is to sew it out.  Easier said than done.
 Things went wrong on this attempt.  The hoop hit a wall and the sewing machine lost track of exactly where it was at.    The registration of the various pieces is now wrong, since the yellow ring is supposed to go around the black circle of the eye.  There's no fixing this, it's a do-over, after moving the machine farther from the wall!

This attempt looks better, but a closer look reveals new issues.

When the design was scaled up from the size of the photograph to the size desired for sewing, the white stripes and black edges acquired some distance between them.
If you didn't know this fish, you might not think this was a problem, but I'm a stickler for my fish.  This problem had to be fixed with quite a bit of work back in the design software.

Finally, all the pieces came together and I produced a good fish and it's mirror reverse, for the opposite side.
I just sew these together, stuff them, and there's a good toy for a baby.  It's 100% washable, with nothing to fall off and get swallowed.  Lots of kids get Teddy Bears, but how many end up with a very realistic stuffed fish?  Only a few.

Come back next week for a new home decorating project.

This blog has been on hiatus while I dealt with moving to a new house.  it will continue weekly in the future.


Saturday, April 28, 2018

Sunshade for a Robot

You might be wondering just which planet this post applies to.  I assure you that it's planet Earth.

I've decided that mowing a lawn in the hot Alabama sun and humidity isn't something I need to be doing.  Most people would just hire a lawn service, but I decided to try out a different approach -- an autonomous mower, basically a grass cutting robot. The effectiveness of the mower depends on where it's charging station is placed, particularly if you want it to mow both the front and back of the house.  For a lot of reasons, the back of the house was the right place to put the mower.   However, the battery lasts a lot longer if it's not hot when it's charged.  That means it's idea to put the charging station out of the sun.  The west side of the house is very much in the full sun.  I decided that the best solution was to make a sunshade for the charging station and mower, so that it would be out of the sun while charging.
 Here's the mower and charging station before the sunshade:
The mower is only 12" tall, so the shade doesn't have to be very high.  In fact, it's better than it's not, so that the view out the windows isn't obstructed.   However, the mower needs unobstructed access to the charging station from the sides, so the supports for the shade can't be next to the station.  One way to solve this problem is to make a very long shade, but it doesn't have to be all that wide.

I found this nice fabric at Wal-Mart.

It's a polyester canvas with a urethane backing.  That means it will be very sturdy, very light proof and even water proof.  Being water proof isn't a necessity for this application, but it's a nice bonus.  The fabric is 60" wide, so 3 sections sewn side by side gives me plenty of width to the sunshade.  The light khaki color will help keep the area under the shade cool.

I made flatfeld seams to help wit making it water proof.  There's a bunch of ways to hold the fabric in place while it is stitched, but I didn't have any nice seam tape.

Blue painter's tape did just fine.  It's not what I would recommend for fine sewing, but that's not what this is. 

I added a 1" hem and grommets at the corners.  Since the fabric won't ravel with the urethane backing, I just turned under the hem once.

Here's the mower hanging out in it's cool, shady charging station.


Come back next week for some other crazy fun adventure with a sewing machine.


Saturday, April 14, 2018

Suit for a Wedding

It's challenging to figure out what to wear for important family events.   Add in an outdoor event, uncertain weather conditions, and a bride determined to have a very different wedding and it becomes almost impossible.

I decided that pants and sensible shoes would be most appropriate, given the outdoor venue and uneven ground.  The weather considerations made layering a really good plan.

I decided to make a matching jacket and pants.  I found this lovely green stretch denim material.  It's slightly shiny, like a cotton sateen.  It's not a traditional choice for formal wear, but it works well and fits nicely.

The jacket is a McCall's pattern, now out of print.  I modified it to fit me. 
It has this lovely embellishment, achieved with ribbon sewn to the fabric and topped off with buttons.  I chose buttons with sunbursts because I do like sunshine.

For the pants, I used my standby jeans pattern.  Again, it's not traditional, but I knew that the pants would fit.    The jacket is funky enough that it needs to be paired with something more than standard dress pants anyway.
The pockets of the jeans were decorated with this lovely one color design from Embroidery Library.  The one color design keeps is slightly understated and the jellyfish design speaks to my love of the ocean and scuba diving.

The suit was a smashing success and I use it as my go-to formal outfit for winter events.  It was perfect for the wonderful concert by the Huntsville Symphony Orchestra last weekend.

Come back next week for more fun with a sewing machine.


Saturday, April 7, 2018

Wrap Dress with Applique

Last Sunday was Easter and that's a day when a lot of lovely dresses come out of the closet.  It was no exception for me.  I didn't make a new dress, but wore one originally made for an event last summer.
The dress started out as Simplicity 8137, a simple wrap dress.   I didn't like the sleeve, so I changed it out for a flutter sleeve -- a very full, short sleeve.  I also had to modify the dress to fit me.

 The dress is made of polyester-cotton broadcloth, which has very little stretch, so proper fitting is required.  This material has a couple of advantages for this project.  First, it's quite inexpensive and when a dress requires 5 yards of fabric, that starts to matter.  Also, it's a perfect material for embroidery and applique, something like the island inspired skirts I've been making. 

This dress is something of a mixed technique project.  It includes machine applique, hand guided applique and decorative stitching.  The basic design is a flowering vine that accents the main features of the dress, curling along the front and neck openings.  The vine itself is far to big for machine applique, so it's hand guided applique.  The skirt section and the top section of the vine are each a single piece of fabric, bonded to the blue fabric and then stitched with a close spaced zig-zag stitch.

The leaves and flowers are machine applique with embroidered accents.  Both designs are from Embroidery Library.  The leaf is here and the flower is here.  The colors for the flower were chosen to contrast nicely with the blue and the green and also to go with a bracelet I wanted to wear with the dress, which has lapis lazuli, peridot, and garnet.   Each of the leaves and flowers were individually placed.  The leaves have stems.  The flowers do not, so I added those before placing the flowers.

Finally, I added decorative stitching to the hem of the dress and the sleeves.  It's a built in decorative stitch on my machine.
Come back next week for more fun with a sewing machine.