Showing posts with label Kids. Show all posts

Saturday, October 20, 2018

Fishy Dress for a Toddler

Sewing for little girls is so much fun.  I made a new dress for my favorite little girl.
This isn't the first thing I've made for her.  There was the Too Cute Pink Dress and the Madeline costume, part 1, part 2, and part 3.

Her father picked out the fabric at The Calico Cat in the Kaimuki district of Honolulu.  It's this print full of sea creatures just perfect for an island girl?
For a pattern I chose this Ellie Mae Designs pattern, sold by Kwik Sew.  It has really nice detailed directions for new sewers.  
I like the sleeve ruffles from view B, but not the trim, the fabric being busy enough, so my dress is a bit of a blend of view A and view B.

All the tricky sewing in this dress is in the bodice.  Here's the wrong side of the bodice, just as it's being sewn together.  Note the extensive clipping of the neck seam.
Right side out, it looks like this:
The next step is to attach the shoulder ruffles.  They get assembled as a set before being sewing to the bodice.
The armholes are finished with bias tape.   I used purchased bias tape, but this would have been an excellent opportunity to try making my own, as I described for a different project.
The finished shoulder ruffles are very attractive.


Come back next week for a new project and more fun with a sewing machine.

Saturday, September 29, 2018

Halloween Costume, Part 3

The last piece for the Madeline costume is a short cape with a red ribbon tie. It's worn over the dress to suggest a caped jacket.  Here's the cape and the dress from last week together.
There isn't a pattern for the cape.  I decided to just wing it and make a full circle cape 8" long.  That's ridiculously short for an adult, but should be just about right for an 18 month old.  I used the dress to decide that the center whole should be 4" across.

To cut a circle, it's easiest to use symmetry.  The fabric is folded 4 times, then a quarter circle measured out.
The final piece is a doughnut shape with one cut through it.  This is exactly the shape I used for the Christmas Tree Skirt.
The front slit and outer edge were finished by turning under 1/2" and stitching.  This isn't a good technique for clothing, but it's OK for a costume, particularly since the polyester cotton broadcloth fabric doesn't ravel much.
Turning under the inner edge proved to be impossible, due to the tight curve, so I just used and overcast stitch on it.  The neck edge of the cape will be hidden under the collar anyway.

The final step is to add red ribbon ties.
The costume is finally done.  Here's the whole ensemble together:
Come back next week for a whole new fall project!

Saturday, September 22, 2018

Halloween Costume, Part 2

Last week, I introduced you to the Madeline costume I'm making for an 18 month old and discussed the construction of a hat.  This week, I'm working on the major piece of the costume, a blue dress with a white Peter Pan collar.

I looked for a pattern for such a thing, but it didn't exist.  The best I could do is Butterick 4110, a dress with huge bib collar and at least the right sort of neckline.  I used the collar pattern piece to create a new collar.  The inside curve of the collar is exactly the same as the original collar and the outside is something that I drew that I thought would look about right.  The collar uses a 1/4 seam, unlike the rest of the dress, which is 5/6" seams,  There's no need for excessive bulk from seam allowances inside the collar.
Four pieces of the collar are cut and then sewn together in pairs.  The result is shown here, the front is at the top.
Finally, the collar pieces are attached to the outside of the dress, with the two pieces overlapping at the front so that they just touch at the neck seam.

When the dress is finished, the collar is pressed to the outside.  I got the halves of the collar to just touch -- an important style feature for this type of collar.
The dress has a button closure in the back.  I'm not a big fan of buttons on clothes for people to young to be trusted not to try and swallow them, so I substituted a zipper.  The front and back yokes were finished just by turning under the inside yoke and sewing it down.  This is a lot faster than hand stitching.
The sleeves were finished with just a simple elastic in a casing.
Come back next week and see how I finished off the costume!

Saturday, September 15, 2018

Halloween Costume, Part 1

I was asked to make a Halloween costume for a delightful 18 month old girl.  Her mother came up with the idea of Madeline and the nun as a mother/daughter combination.  If you aren't familiar with Madeline, she's the star of her own beloved series of children's books.
In all of the books, Madeline wears a yellow hat with a black ribbon and a blue outfit with a shoulder cape.  I decided to start with the hat.

The pictures depict a flat-crowned hat.   I looked hard in my pattern collection for something similar, but didn't find anything that worked.  So, I made my own pattern.

It starts with a 7.5" diameter circle.  I drew it in PowerPoint and printed it.  With 1/4" seams, the circumference of the hat crown is 22".
Here, I am cutting the brim pieces.  I measured out 2 1/4" from the circle, and then made a torus (doughnut shape) 2 1/2" wide.  There are two brim pieces, for the top and bottom.  The crown of the hat is just a rectangle 3" x 22 1/2".  Here's all the pieces, two each of the brim, crown, and top.


To make the brim stiff and stick out straight from the hat, I used an iron-on interfacing on BOTH pieces of the brim.  They are then sewn together with a 1/4" seam, inverted, pressed, and top stitched.
The crowns are each sewn together on the short sides, then sewn to the top.  The result is two crown and top assemblies.  One of these will be the outside, the other the lining.
I wasn't completely sure of the right head measurement, and it will even change in the next couple of months.  I added some elastic to the inside, sewing it to the seam allowance.  This will let the hat fit a range of head sizes.  The elastic is at the back of the hat.
Now the lining is hand sewn to the crown/brim seam allowance, completely hiding the elastic.
The finishing touch is the black ribbon, also hand stitched to the hat to keep it in place.  There's long tails that can be tied in a bow.
Come back next week for another piece of this fun costume!


Saturday, August 18, 2018

A New Fish Joins The School

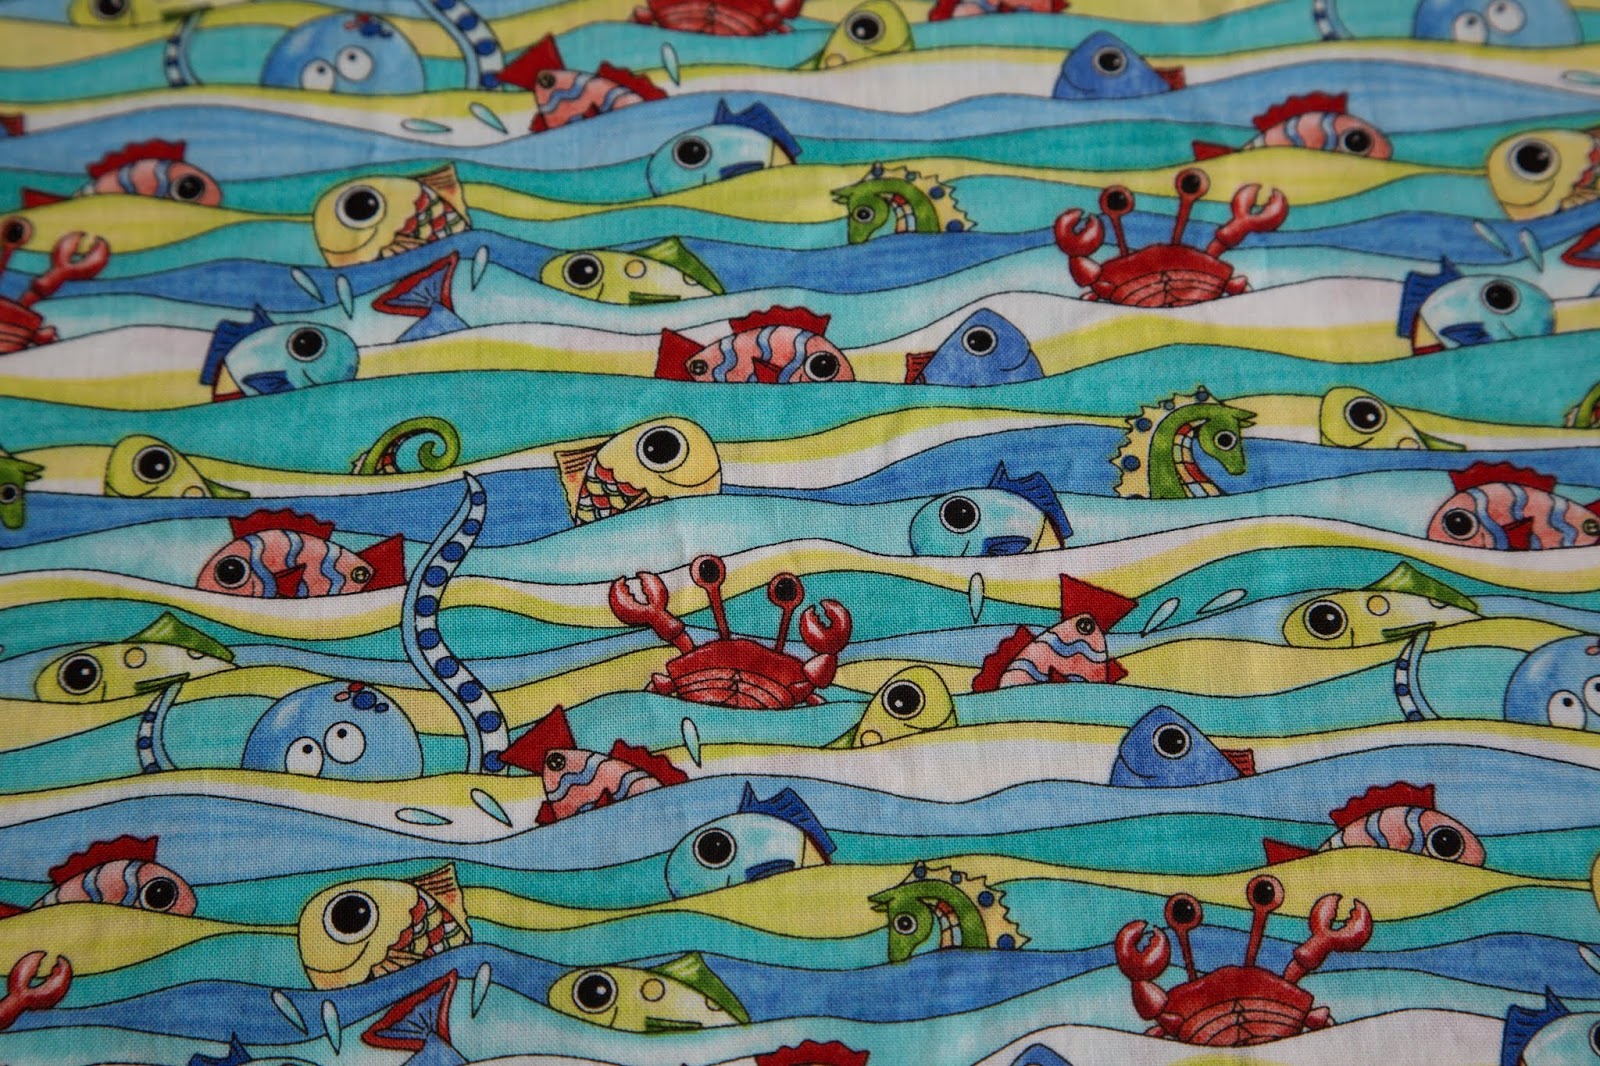
I've been experimenting with creating stuffed fish for children's toys.  I decided it was time to add another fish to the collection.


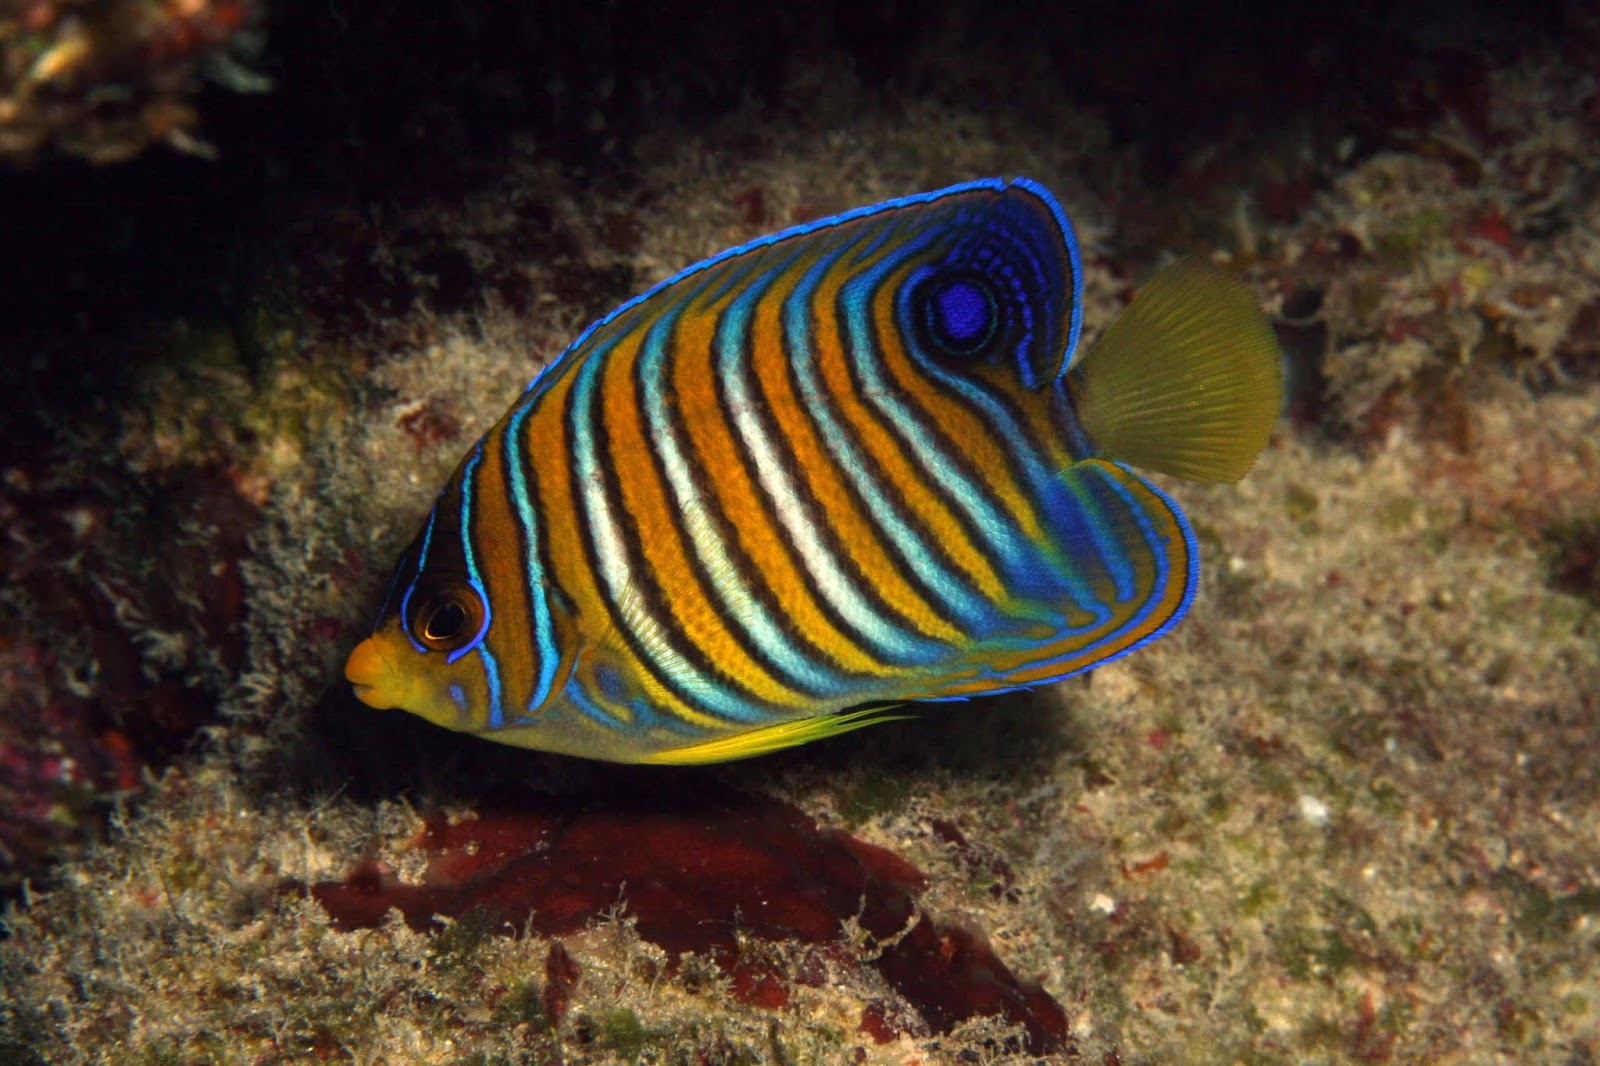
This fish is a Regal Angelfish, another colorful Indo-pacific species.

The process begins with a photograph, again one of my own.

Using Floriani Total Control embroidery design software, I'm able to define lines and regions from the photograph and then figure out how to embroider them.  Since the fish is more orange than any other color, I'm starting with plain orange fabric.

Once the embroidery design is complete, I end up with a file like this:


Now all that remains is to sew it out.  Easier said than done.
 Things went wrong on this attempt.  The hoop hit a wall and the sewing machine lost track of exactly where it was at.    The registration of the various pieces is now wrong, since the yellow ring is supposed to go around the black circle of the eye.  There's no fixing this, it's a do-over, after moving the machine farther from the wall!

This attempt looks better, but a closer look reveals new issues.

When the design was scaled up from the size of the photograph to the size desired for sewing, the white stripes and black edges acquired some distance between them.
If you didn't know this fish, you might not think this was a problem, but I'm a stickler for my fish.  This problem had to be fixed with quite a bit of work back in the design software.

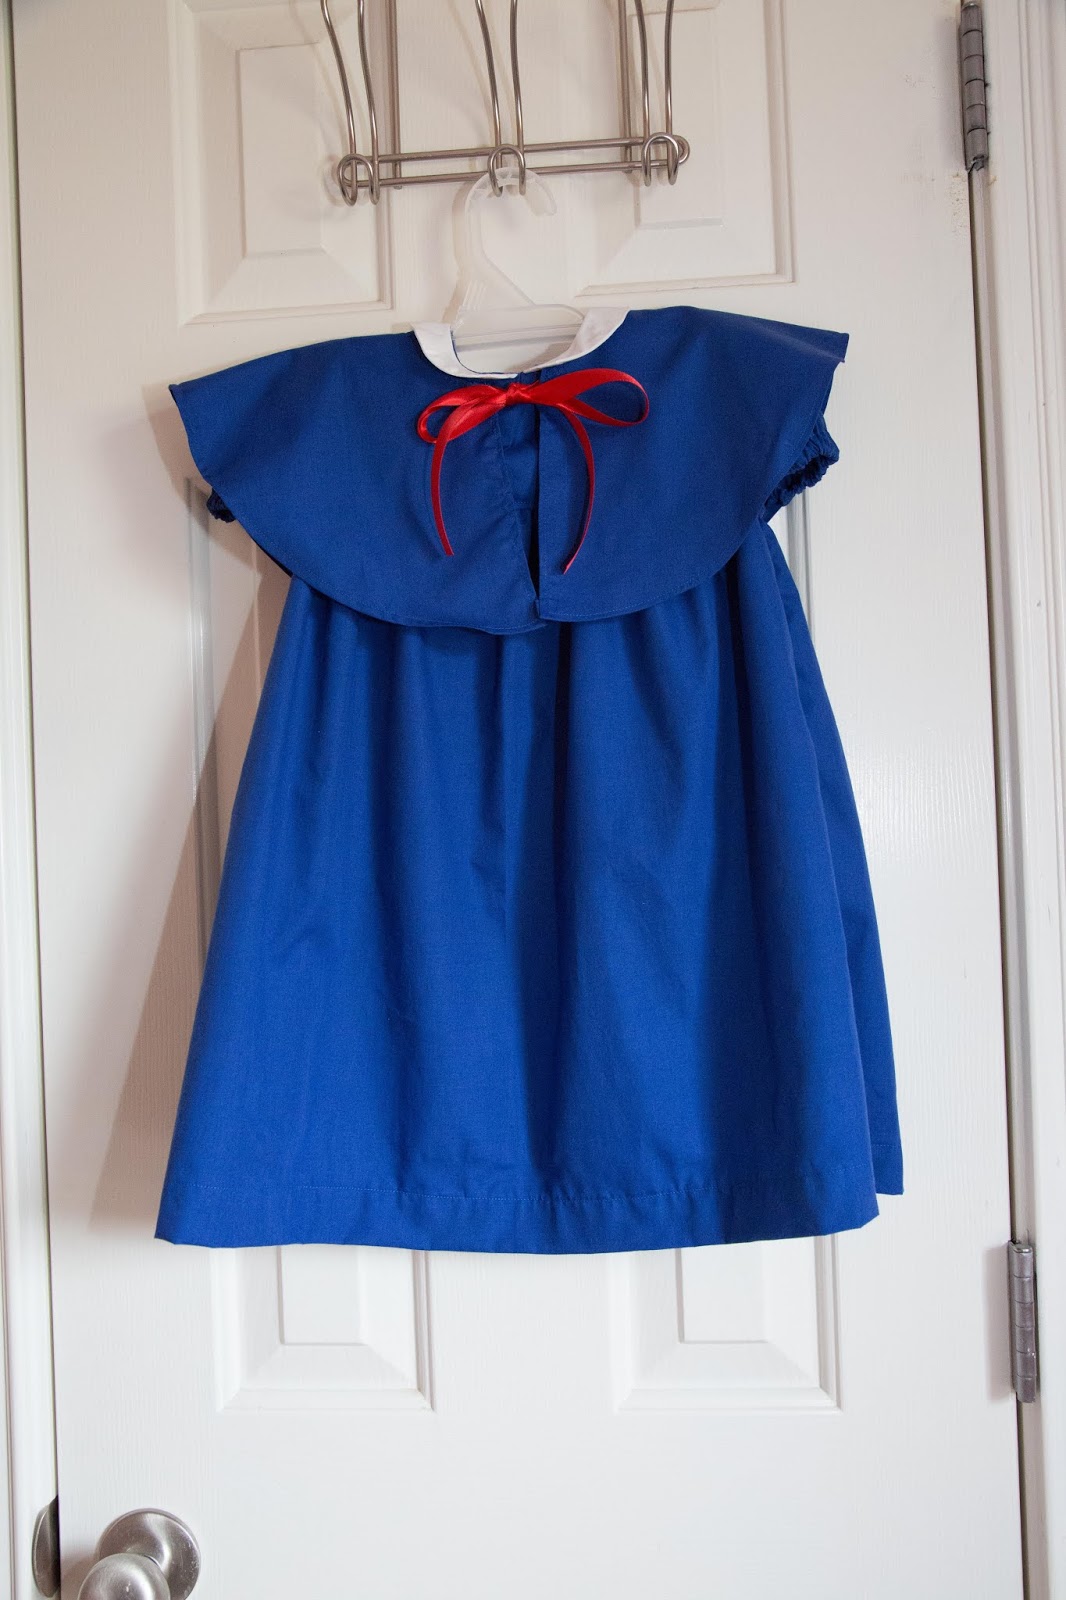
Finally, all the pieces came together and I produced a good fish and it's mirror reverse, for the opposite side.
I just sew these together, stuff them, and there's a good toy for a baby.  It's 100% washable, with nothing to fall off and get swallowed.  Lots of kids get Teddy Bears, but how many end up with a very realistic stuffed fish?  Only a few.

Come back next week for a new home decorating project.

This blog has been on hiatus while I dealt with moving to a new house.  it will continue weekly in the future.