Showing posts with label cotton fabric. Show all posts

Saturday, November 24, 2018

Long Sleeve Knit Shirt

I've been looking at shirts that work with mid-rise pants, the kind that seem so popular in stores.  As everyone else has already figured out, they don't work well with shirts that are supposed to be tucked in.  So, much of my winter wardrobe is in need of changes.  T For fabric, I choose a cotton-polyester interlock.  This fabric is easy to work with, durable, and warm for winter wear.


 The usual sort of very loose tops don't appeal to me much.  I can see why y'all wear them, but it's not my style and it doesn't look good on me either.   I went looking for some other sort of solution and found Kwik-Sew 4216.  This looked like an interesting compromise between a fairly fitted top and one that would work with the despised mid-rise pants.  It has a fairly fitted top, a waist seam at the true waist and a peplum.
The pattern envelope show tops in interesting prints, but I chose a plain solid fabric, perfect for embellishment.  A shirt neckline is a perfect place to add embellishment, in this case machine embroidery with a pattern from Embroidery Library called Celtic Diamonds neckline. I used the V- neck version.
It's important to get the embroidery lined up just right.  Using a template, a 100% scale version of the design on paper helps a lot.  As you can see, I did the embroidery before sewing the shirt together.
The peplum offered some other options for embellishment.  The asymmetric hemline is one of the attractions of the shirt, so why not emphasize it?  This simple built in decorative stitch did the trick.
How did the shirt turn out?  It does work quite well with the mid-rise pants and gives me some wardrobe options.  I wish I'd cut it to a smaller size, however.  It worked well enough I might give this pattern another spin later.  It has a short sleeve version, which could work well for a summer shirt.

Come back next week and see what sewing happened at my house over the holiday weekend!

Saturday, November 17, 2018

Highlights from the Houston Quilt Show

Last weekend, I had the privilege of attending the Houston International Quilt show. These are not your ordinary quilts.  They are all original designs, executed by some of the best quilters in the business.

This quilt by Setsuko Matsushima of Japan won the Founder's Award.  I'm not generally a fan of mostly grey quilts, but this one caught my eye.  I really like how it's a fascinating mixture of both American art, in the traditional quilt blocks, and Japanese art in the depiction of the waves.  This quilt honors and offers a ray of hope to those who suffered due to the 2011 earthquake and tsunami in Japan.

Here's  Kimberly Lacey of Colorado standing by her First Place winning quilt.  The design of this quilt was inspired by ammonites, a very extinct sea shell found as fossils.  (Who says there's no science in the fabric arts?)  The pattern was created with shimmering fabric paints on silk, rather than the more traditional pieced or appliqued fabrics.  She's just getting started at as a professional quilter, so if you like her work, check out her website here.
What to do when you know what fabric design you want, but it doesn't exist?  Why, you create it in the computer and then have it printed!  That's exactly what happened with this striking quilt by Karlee Porter of Utah.  If you like the design, she's got it for sale.
If you like more traditional piecing and applique, check out this quilt by Beth Nufer of Oregon. It was made from fabric that shades from white to grey and then solid brightly colored fabric.  The idea is to give the quilt a 3D effect.

For the mathematically inclined, there's this quilt by Claudia Pfeil of Germany.  The black shapes are inspired by the Mandelbrot set, one of the very first fractals that was discovered.  Fractals have infinitely detailed shapes, so working with them in quilting is quite a challenge.
There's some totally fun things at the show too, like this scene of Flamingos all dressed for a party by Beth Miller of Australia.
Or this fishy quilt by Tomiko Onishi of Japan.  Look carefully -- all those fish are actually vegetables!

My cousin Suzy Webster had two quilts in the show this year.  The top one, Dotville, was inspired by a class she took at last year's show.  The bottom one, Order to Chaos, is based on a design created by her father, John Shier.  His artistic explorations have resulted in a completely new way to generate fractal geometries.  You can check out Suzy's blog about quilting here and John's webpage here.

Come back next week and see how I am dealing with the challenges posed by mid-rise pants.


Saturday, November 10, 2018

Jacket with White Satin Trim Part 2

Last week, I talked about the decorative trim for a jacket that I am making.  This week, we see how the jacket went together.
I started with Vogue 1493.
The home made bias tape isn't just used for trim.  The seams are bound with the bias tape, rather than finishing them with an overcast stitch.
The sleeves have an usual shape, with the large and ornamented lower sleeves.  The seam comes to a sharp point.
This seam is made possible by clipping the upper sleeve almost to the seam line.
Here's the completed sleeve.
The upper part of the sleeve is a fairly standard shape, so it sews easily to the jacket.
The front band also proved to be fairly easy to attach.
The final step is to make 1" bias tape and attach it at the front band/front seam.  It turns out that 1" bias tape is more difficult to deal with than the 1/2" variety.  Also, if you try to feed a strip that's too wide into the bias tape maker, the fabric can end up melted (it is polyester) and ruined.  The stuff is squirrelly when you try to attach it also, note all of the pins.
The jacket did get finished.  Now I have something to wear to the Huntsville Symphony Orchestra concert!

Come back next week for a report from the Houston International Quilt Expo.

Saturday, November 3, 2018

Jacket with White Satin Trim Part 1

Were you wondering about all the white satin trim from a previous post?
I saw this interesting jacket, Vogue 1493, and saw that it made use of some techniques I hadn't tried before. I decided to see if I could make it work.  Note that this is listed as an "advanced" difficulty pattern, a good sign that there's one or more steps here that is challenging to make work right.
   I choose a teal stretch denim for the jacket and white satin for the trim.  That gives a lot more contrast that the colors of the jacket on the front of the pattern envelope, but then, subtle isn't really my style.

Thank goodness I had extra fabric!  I think it came off the end of the bolt.  I made enough cutting errors that I had to redo some things and I ended up needing all the fabric I had.

As described in a previous post, making the white satin trim proved to be the difficult step.  The satin is made into 1/2" bias tape and then sewn to the lower sleeve sections and the front band in a pattern that looks random.

The pattern gives very detailed instructions for making the "random" design of lines of trim.  In this sleeve section, I've traced the lines from the pattern.  The pattern also specifies the order in which the lines of trim are to be sewn.  The right and left sleeves are different, as are the right and left front bands.
Sewing on the white trim proved to be fairly straight forward.  It did involve a great deal of top stitching.  Here's a lower sleeve section in process.
The front bands were easier than the sleeves.  There were just and many lines of trim, but most of them were shorter.  Here's the front band, lined with more white satin, ready to be sewn onto the jacket.
Come back next week and see how the jacket goes together, now that most of the trim is done.

Saturday, October 20, 2018

Fishy Dress for a Toddler

Sewing for little girls is so much fun.  I made a new dress for my favorite little girl.
This isn't the first thing I've made for her.  There was the Too Cute Pink Dress and the Madeline costume, part 1, part 2, and part 3.

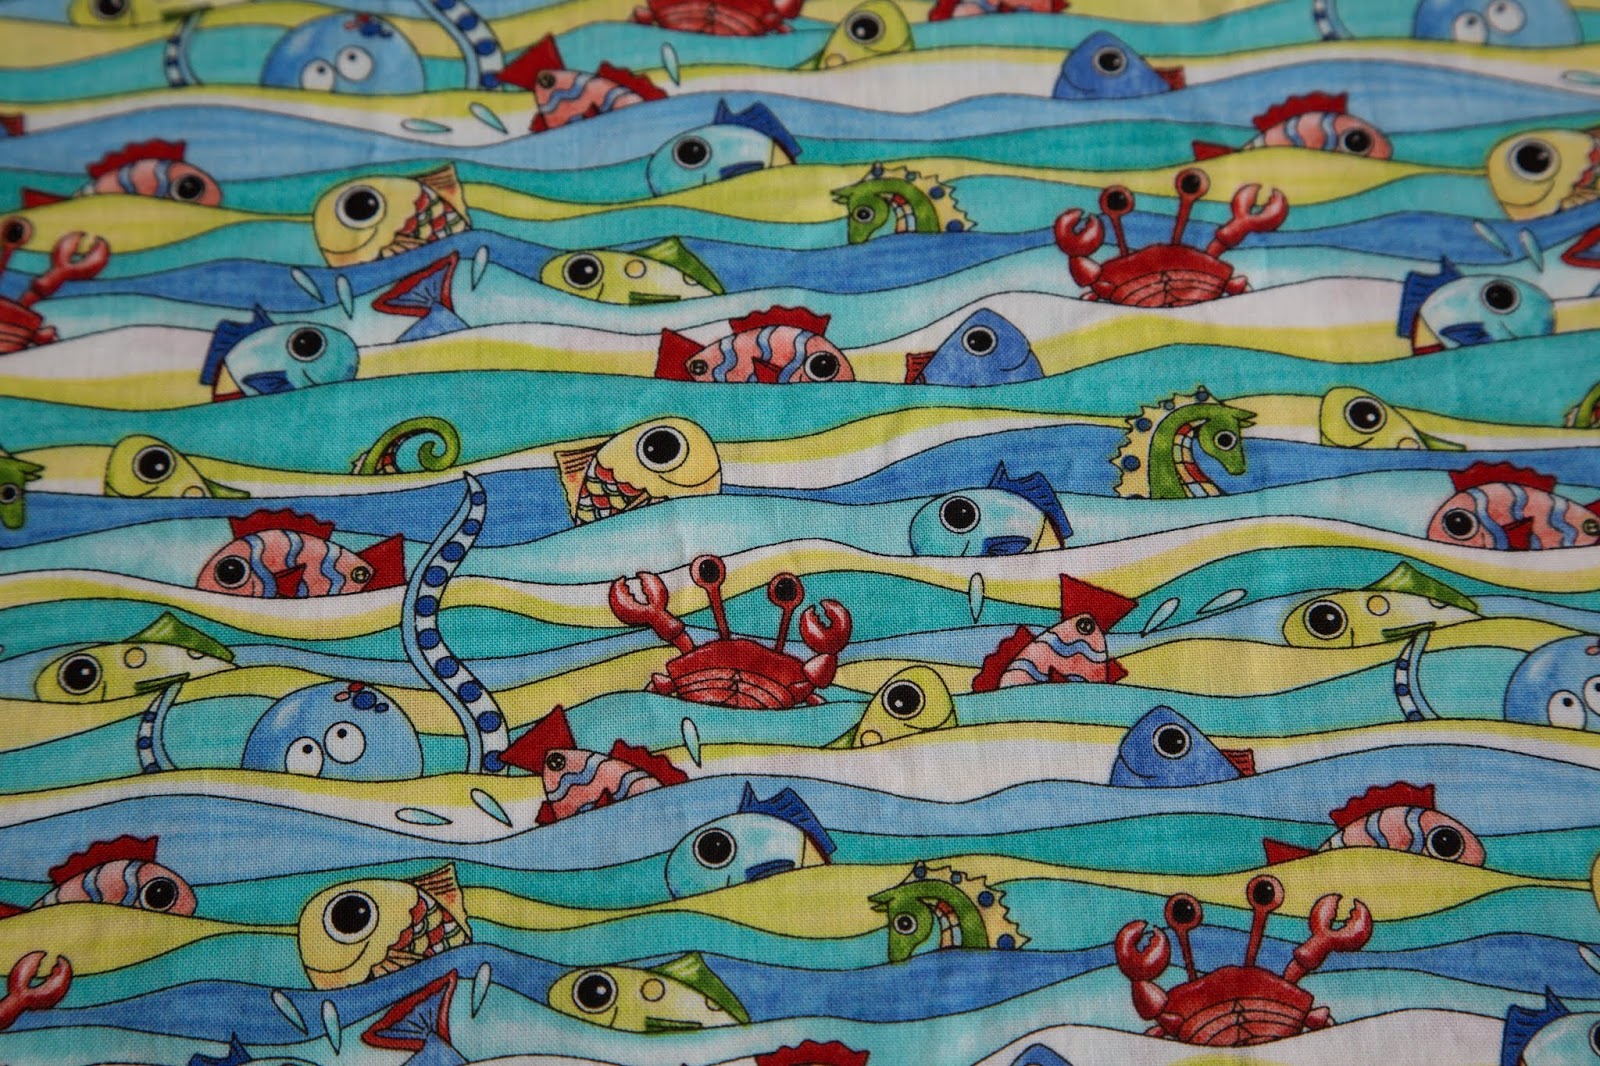
Her father picked out the fabric at The Calico Cat in the Kaimuki district of Honolulu.  It's this print full of sea creatures just perfect for an island girl?
For a pattern I chose this Ellie Mae Designs pattern, sold by Kwik Sew.  It has really nice detailed directions for new sewers.  
I like the sleeve ruffles from view B, but not the trim, the fabric being busy enough, so my dress is a bit of a blend of view A and view B.

All the tricky sewing in this dress is in the bodice.  Here's the wrong side of the bodice, just as it's being sewn together.  Note the extensive clipping of the neck seam.
Right side out, it looks like this:
The next step is to attach the shoulder ruffles.  They get assembled as a set before being sewing to the bodice.
The armholes are finished with bias tape.   I used purchased bias tape, but this would have been an excellent opportunity to try making my own, as I described for a different project.
The finished shoulder ruffles are very attractive.


Come back next week for a new project and more fun with a sewing machine.

Saturday, September 29, 2018

Halloween Costume, Part 3

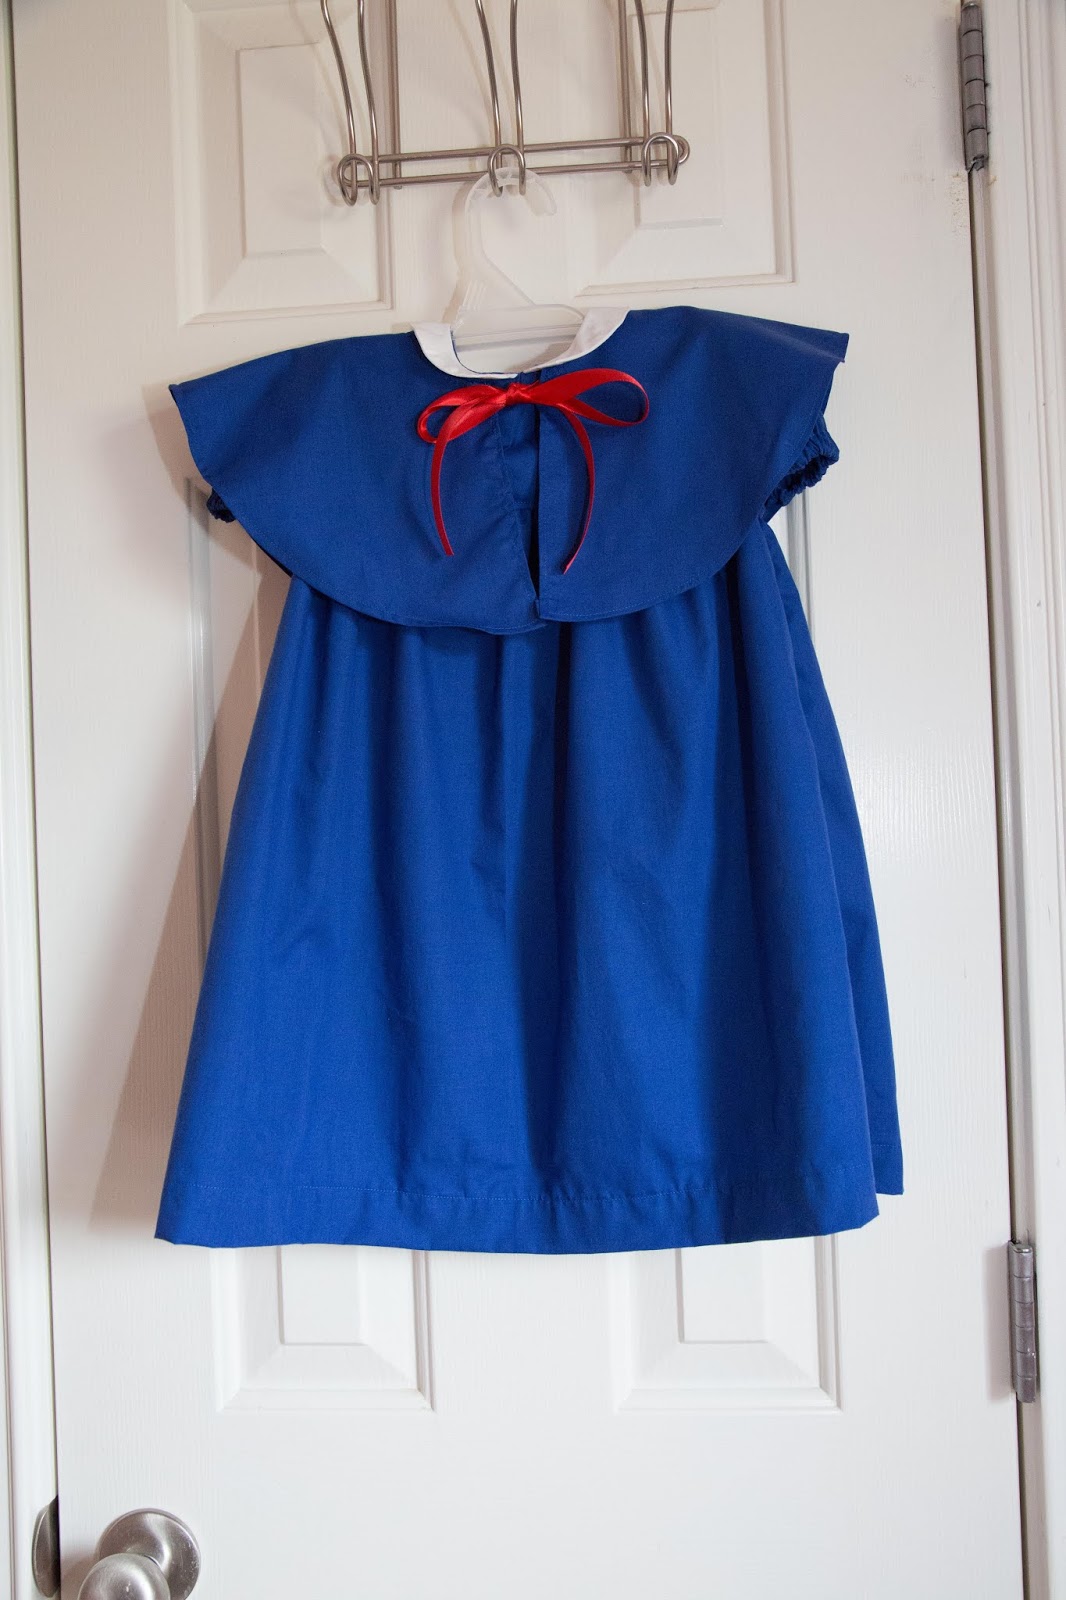
The last piece for the Madeline costume is a short cape with a red ribbon tie. It's worn over the dress to suggest a caped jacket.  Here's the cape and the dress from last week together.
There isn't a pattern for the cape.  I decided to just wing it and make a full circle cape 8" long.  That's ridiculously short for an adult, but should be just about right for an 18 month old.  I used the dress to decide that the center whole should be 4" across.

To cut a circle, it's easiest to use symmetry.  The fabric is folded 4 times, then a quarter circle measured out.
The final piece is a doughnut shape with one cut through it.  This is exactly the shape I used for the Christmas Tree Skirt.
The front slit and outer edge were finished by turning under 1/2" and stitching.  This isn't a good technique for clothing, but it's OK for a costume, particularly since the polyester cotton broadcloth fabric doesn't ravel much.
Turning under the inner edge proved to be impossible, due to the tight curve, so I just used and overcast stitch on it.  The neck edge of the cape will be hidden under the collar anyway.

The final step is to add red ribbon ties.
The costume is finally done.  Here's the whole ensemble together:
Come back next week for a whole new fall project!

Saturday, September 22, 2018

Halloween Costume, Part 2

Last week, I introduced you to the Madeline costume I'm making for an 18 month old and discussed the construction of a hat.  This week, I'm working on the major piece of the costume, a blue dress with a white Peter Pan collar.

I looked for a pattern for such a thing, but it didn't exist.  The best I could do is Butterick 4110, a dress with huge bib collar and at least the right sort of neckline.  I used the collar pattern piece to create a new collar.  The inside curve of the collar is exactly the same as the original collar and the outside is something that I drew that I thought would look about right.  The collar uses a 1/4 seam, unlike the rest of the dress, which is 5/6" seams,  There's no need for excessive bulk from seam allowances inside the collar.
Four pieces of the collar are cut and then sewn together in pairs.  The result is shown here, the front is at the top.
Finally, the collar pieces are attached to the outside of the dress, with the two pieces overlapping at the front so that they just touch at the neck seam.

When the dress is finished, the collar is pressed to the outside.  I got the halves of the collar to just touch -- an important style feature for this type of collar.
The dress has a button closure in the back.  I'm not a big fan of buttons on clothes for people to young to be trusted not to try and swallow them, so I substituted a zipper.  The front and back yokes were finished just by turning under the inside yoke and sewing it down.  This is a lot faster than hand stitching.
The sleeves were finished with just a simple elastic in a casing.
Come back next week and see how I finished off the costume!