Showing posts with label Machine Embroidery. Show all posts

Saturday, March 23, 2019

Free Standing Lace Dodecahedron

My latest project is a tribute to Greek mathematics in free standing lace.  Last week, I showed my attempts to create a pentagon with the letter pi on it.   This week, I've made 12 of them, each with a different Greek letter with special significance in mathematics.  12 pentagons make a regular dodecahedron, one of the 5 Platonic solids.


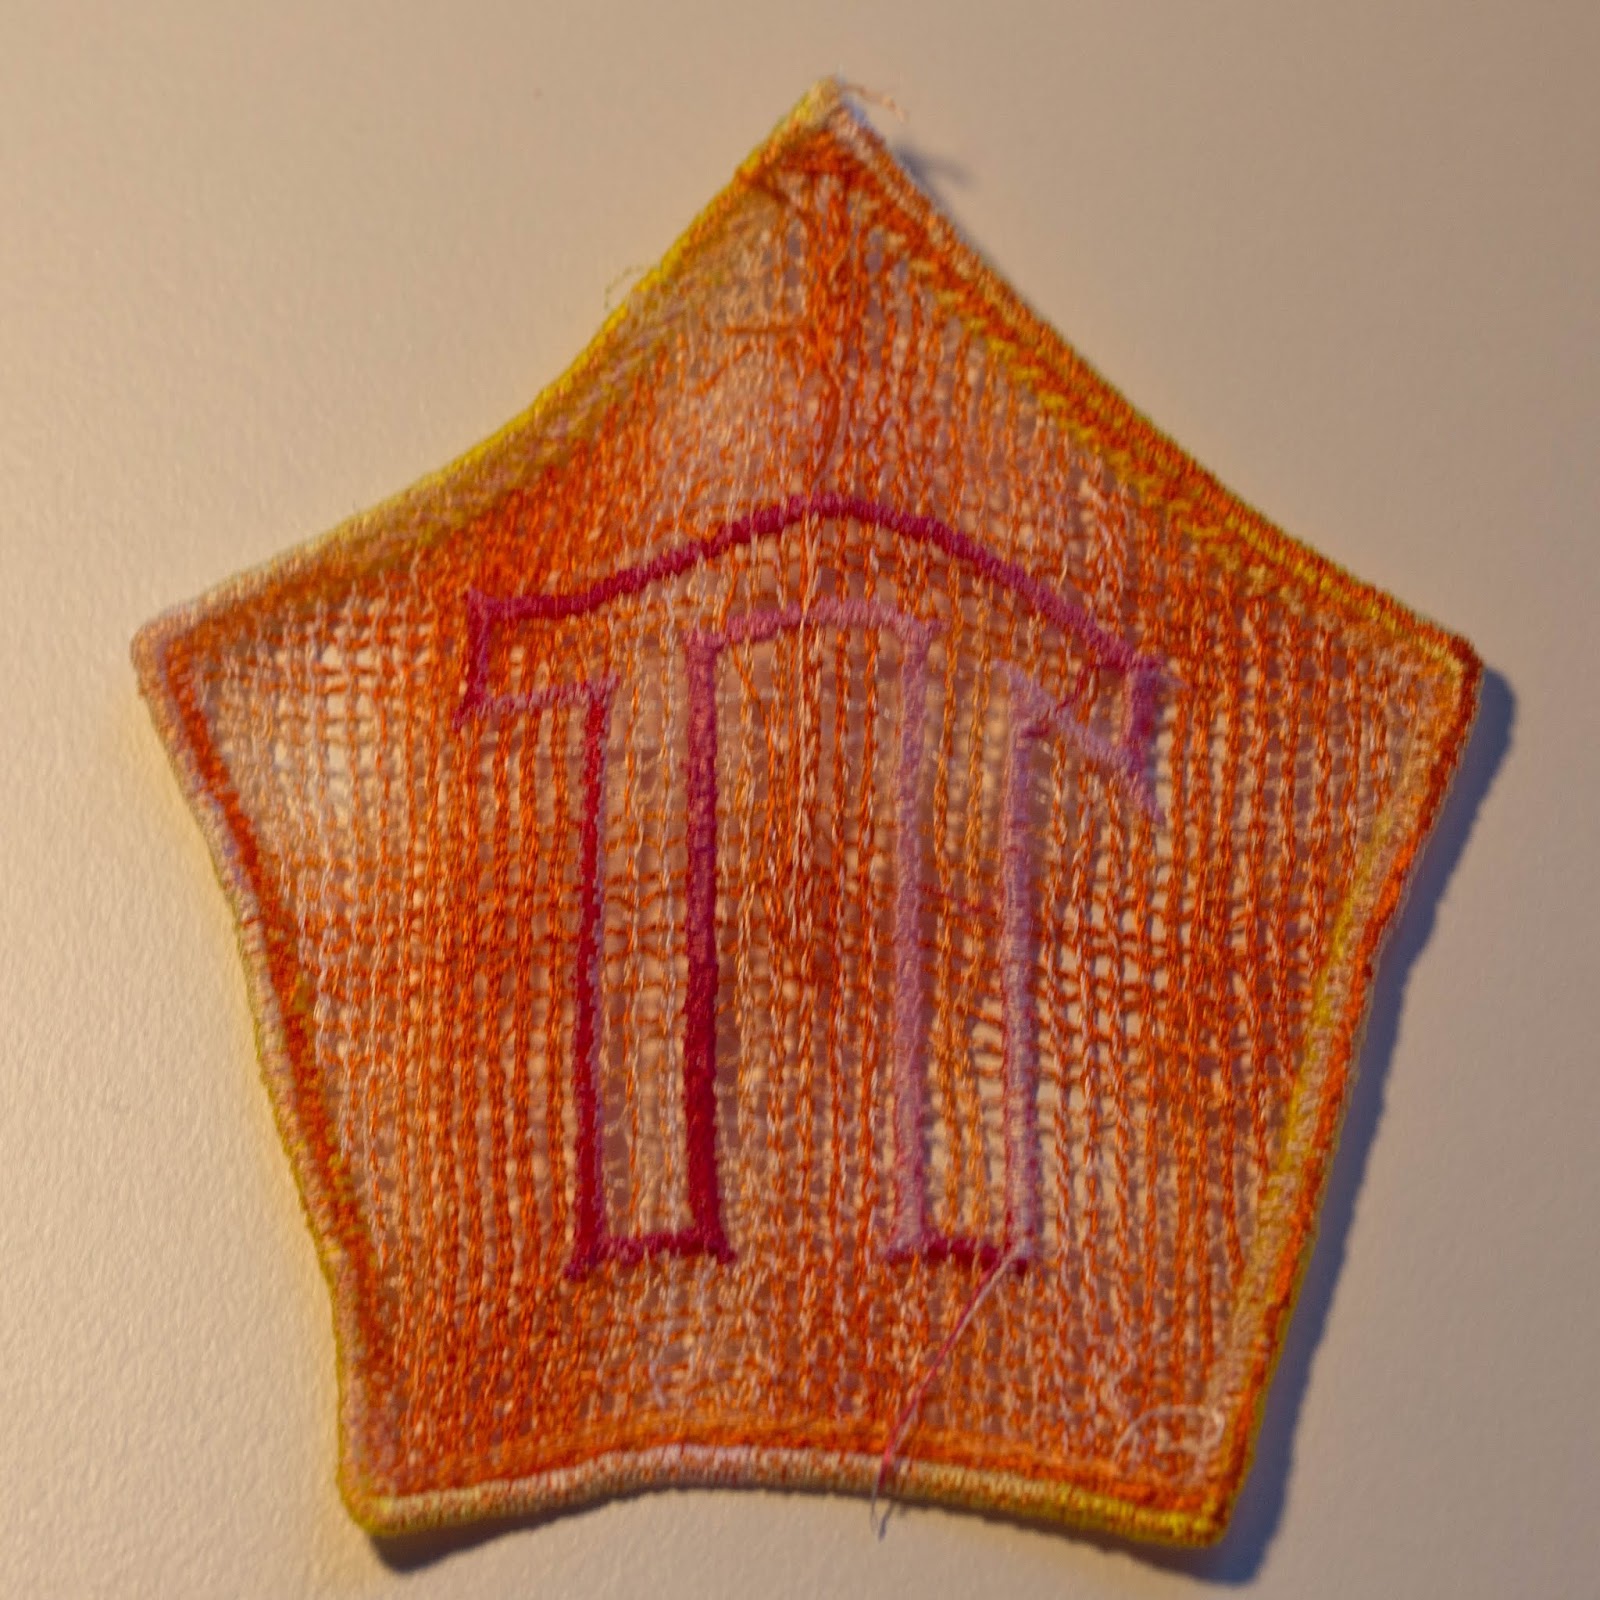
I'm into color, so I decided to use color to introduce new symmetries.  I used a total of 6 colors: red, orange, yellow, green, blue and purple.  In each case, the web part of the lace is one color and the Greek letter and edge of the lace are a different color.  If you require the web and the edge to be one color apart on the color wheel, there are exactly 12 possible combinations and I used all of the exactly once.

Here's all 12 pentagons laid out in one possible configuration.

I required that at each edge of the dodecahedron, the pentagons that meet had to have different web and edge colors.  That drastically reduced the possible number of arrangements of the pentagons and made for a pleasing distribution of colors.

The pentagons are sewn together by hand with invisible thread.  That thread proved to be difficult to work with, but I got the job done.

I bought clips a while back for a different project, but this seemed like a perfect time to use them.
These aren't the fancy fabric clips, just paper clips from an office supply store.

Visualizing the finished product from a flat arrangement proved to be challenging.  Putting the whole thing together with the clips was very helpful.
I'm still not pleased with the finished product.  Unlike the cube, the edges aren't all that straight and the the whole thing has a somewhat lopsided appearance.  I'm working on creating a stiff framework for the pentagons.

Come back next week for a completely different project.

Saturday, March 16, 2019

Pi and Pentagons

Happy Pi Day (March 14).   This week, I'm working on a new project with pentagons and Greek letters.  Of course this includes the most important Greek letter for geometry, pi.


It took quite a while to figure out the right colors of thread to use for this project.  My previous free standing lace project used variegated thread at it turned out very well.  For this project, I digitized all the designs myself, so the texture of the lace turned out a bit different.

When I tried this will all one color variegated thread,  it just didn't work.  The pi didn't stand out particularly.
I tried using contrasting colors of variegated thread, in this case yellow/white, orange/white, and red/white.
This really didn't work either, and the lace is starting to get a plaid look.  Definitely not what I was going for.

I tried a solid color thread.
The lack of contrast didn't thrill me.

I tried black and white for maximum contrast.
This is starting to go somewhere, but it's pretty boring in the color department.

I finally tried the yellow/green mix at the top and that was about the effect I was hoping for.

Come back next week for an update on what this is all for.

Monday, March 4, 2019

Whale Shark Towel

A friend asked if I could decorate a towel with the image of one of his favorite sea creatures -- the whale shark.


He already had a design, but it required a little modification to eliminate extraneous background items.   The towel came from Walmart.  I chose a blue one, because this is a creature of the open ocean.

To work with a loopy fabric like terry cloth, you need to use not just a stabilizer, but also a topper, to keep the loops matted down while you stitch.  It's also necessary to use water soluble materials, so that you can just wash them away once the embroidery is done.  I chose to use the fibrous Rinse Away Mesh from Embellish on the bottom.  This wonderful stabilizer stands up well to a lot needle punches.  On the top, I used Ultra Solvy by Sulky.  It's a lot heavier than you'd typically use for a topper, but I have plenty of it left over from other projects.  It turned out to be very helpful to use this material after I accidentally started stitching the whale shark upside down -- the heavy topper made it possible to rip out those stitches!

Here's the bottom of the embroidery hoop, with the Rinse Away Mesh.
Here's the beginning of the stitch out, showing the Ultra Solvy.
Since this embroidery will be seen from both sides, I used the same thread in the needle and in the bobbin.  This is the underside, with a few wisps of the the Rise Away Mesh still around the design.  A trip through a sink full of water made that go away.
Come back next week for a project for your sewing room!

Saturday, February 23, 2019

Lace Cube

The success of my previous effort in mathematical art, the Embroidered Tessellations, has inspired me to try other things.
There's an infinite variety of mathematical shapes and surfaces that can be constructed from polygons.  Often, 3D models are constructed from paper or even 3D printed.  What if these were instead made from something that's at least partially transparent? 

The modern embroidery machine is capable of making free standing lace, basically embroidery without the fabric.  With a sufficiently sophisticated embroidery design program, it's possible to make lace in all kinds of shapes and designs.   This seems like something fun to explore!

For my first effort, I decided to keep things simple.  I bought a square free standing lace design from Embroidery Library.   Six squares can be combined into a simple 3 dimensional shape: a cube.

The free standing lace is sewn onto a water soluble stabilizer.  This keeps the lace together during the construction process.  Here, I'm using a fibrous stabilizer from the Embellish line from RNK Distributing.  It holds together a lot better when there's a lot of needle punches than some of the more plastic-like water soluble stabilizers.


 Here's the finished piece.

At this point, the excess stabilizer is trimmed and the whole thing thrown in a sink of cold water for a few minutes.  All of the stabilizer just dissolves away.

Unfortunately, the result is anything but flat.  I solved this problem by mostly drying it out with a hot iron.  Using a pressing cloth was a necessity.  The lace wanted to stick to the iron.

In the end, I had six squares.  All of the them were sewn with a single spool of thread.  The color variations come from using variegated thread.

Come back next week for more fin with a sewing machine!  Soon, I'll be designing my own lace and it won't all be squares.

Saturday, February 16, 2019

A New Purse

My usual purse was showing signs of wear.  It was time to make a new one.

Like a lot of my previous purses, this one is made of polyester microsuede.  It's a material that stands up well to a lot of abuse and can be laundered (regular cycles as well).  For this one, I used the same pattern as for the ham radio operator's purse.

Here's the pattern:
Yes, that's all of it.  Just add pockets as desired on the inside and a 2" strip to make the handle.  The linings and facings are made with just sections of this basic piece.  I've deliberately made this purse small.  That way, it doesn't collect junk!  All the things I really need fit, but not much else.

The lining is a polyester/cotton broadcloth.  I keep that fabric in my stash, in a variety of colors.  It's often used for applique, but it's useful for linings and pockets on a variety of projects, too.

I  decided to make the lining of this purse with just one pocket, sized for business cards.  Those don't do well in the jumble of other things in my purse.

The embroidery pattern is from Embroidery Library, the Jacobean Hibiscus Oval.

One friend liked this purse so much, he asked me to make him another one, in purple, for his sister.   I think I like the purple even better than the green!
Come back next week for more fun with a sewing machine!

Saturday, February 9, 2019

Decorating a Fire Department

My sister is working on a decorating project at her local fire station. She asked me to create an embroidered piece with the logo and station identification that she could incorporate into a larger window shade she's making.

 The digitizing I did for the math art project taught me a lot and made this project a lot easier.

I started by finding the logo for her local fire department on their website.
As always with conversions from images to embroidery, there's choices to be made about what details to include or not include.  The red and yellow zia in the fire department symbol seemed important, since this is a New Mexico fire department and that's a state symbol and the state colors.  The firefighter tools in the center of the logo are a consistent feature of fire department symbology, so they are important, too.  The fire in the center of the circle was hard to implement, so I settled for a plain red circle at the center.  The letters weren't directly digitized, I just found a similar font.  The shadowing on the letters is just too hard to implement, so I left it out.

I used the same heavy black cotton canvas as for the math art work.  I did try one new technique: floating stabilizer.  In this technique the stabilizer isn't hooped with the fabric, but just added underneath.  It allows more stabilizer to be used than will easily fit in the hoop.  I used a special embroidery tape from RNK Distributing to hold it in place.

Come back next week for more fun with a sewing machine!

Saturday, January 26, 2019

Embroidered Tesselations Part 2

I have been working for months on embroidering a complex image that fits the description of mathematical art.  I knew that it needed to be large to get good detail.  The largest single position hoop for the Husqvarna Epic sewing machine is 260 mm x 360 mm.   I've used this hoop for projects like the stuffed fish and had great success with it.  The next step in scaling up the image was to create the largest embroidery that this hoop could support.  It took about 2 weeks to produce a embroidery design that I thought was good enough for this project.


This design is very dense.  The entire circle is covered with one layer of stitching and sometimes more.  It needs a heavy fabric to support it.  I chose plain cotton duck canvas.

Cotton fabrics do stretch, not a good thing for a project like this, but there are ways to deal with the problem.  I used Floriani Heat n Sta stabilizer.  It is ironed on to the fabric and holds it tight.  I chose to use a second layer of regular tear away stabilizer under that.
To make sure everything stayed in place, some of the lines in the design were sewn before any of the stitches that show.  Here, the machine is just beginning to sew with colored threads.  Just as I was choosing colors, I was struck by inspiration and chose variegated thread rather than a solid thread.  This has the effect of emphasizing the direction of the stitches.  I carefully oriented the stitches in each of the fish to follow the symmetry of the design and this last minute choice makes that more obvious.

With all of the colored threads done, the design looks like this:
Now it's time to add the white and finally the black.
I was very pleased at how this turned out.  I though it was very acceptable, but I was still wanting to use the larger hoop to make the largest possible design.  Come back next week and learn about the tribulations in getting to the final finished design.

Saturday, January 19, 2019

Embroidered Tesselations Part 1

It all began with a phone call from my aunt, the very talented quilter.  A mathematical artist was looking for an embroiderer to collaborate on a project.   Was I interested?   Life can take you done some interesting paths when you say yes at the right moment.

This was the image that my collaborator, Doug Dunham of Duluth, MN created.

You might recognize it as very similar to some images by the artist M.C. Escher, famous for images with mathematical foundations.  This is a tessellation, also sometimes called a tiling.  The fish shapes, all identical, completely cover the surface.   Wait...  all identical?  This can't be!  Some are large, many are small and they aren't all the same shape.

In fact, they are all the same shape if you see this not as a regular two dimensional circle, but rather the Poincare disk, a hyperbolic geometry, where the distance between two points depends on how close to the edge they are.  In fact, it's an infinite distance from the center to the edge.

The question asked whether this image could be rendered in embroidery in some pleasing way.  Making this work would require many days with Floriani Total Control, my embroidery design software.  It was also obvious from the beginning that with an image this detailed, the larger the embroidery could be made, the more details could be included.  I knew from the beginning that the Husqvarna Majestic Hoop, at 350mm x360mm was going to produce the best results.

Here's a version of the image in embroidery at 4"x4".  Not much detail is included.  As the fish get small towards the edge, there's no way to render them.  However, as a first crack at the problem, it wasn't bad.
Come back next week and see what can be done with a 260mm x 360 mm hoop.

Saturday, December 22, 2018

In The Hoop Christmas Ornaments

Christmas is a great time for fun little craft projects.  You can make things that are pretty, but don't need to stand up to the rigors of daily, year-round use.  It's also a great time to experiment with new techniques.

Embroidery Library has quite a collection of in the hoop Christmas ornaments and they add more every year. These little gems are all made with the embroidery unit.  There's no regular sewing involved at all.  I will buy some each year and try them, like the free standing ornament from last week.  My tree is now mostly covered in hand made items.

Unlike the free standing ornament, these are made with felt.  A tear-away stabilizer is used.  (A water soluble one is a bad idea in this case, because you don't want to get the finished item wet.)   All the fancy stuff is sewn on the front, then another piece of felt is added to the back. 
You can even note on the back which year you made it.  Finally, the item is lightly stuffed with a tiny bit of polyester fleece.
Some designs work best with white felt, others do better with colors.
There are even designs that are not stuffed at all, where ordinary fabric can be used.

Best of all, most of these fit nicely in the 4" square hoop, so they can be made with just about any embroidery machine.

Merry Christmas to all.  Come back next week for more fun with a sewing machine as we explore a completely different project.


Saturday, December 15, 2018

Free Standing Christmas Ornament and Water Soluable Stabilizer

It's the season to work on fun Christmas themed projects!   This week, I decided to make a lovely Christmas ornament for my tree.

This item is free standing embroidery.  Regular embroidery is fancy stitching on fabric.  Free standing embroidery is fancy stitching without the fabric.  The designs have to be specially created to make this work.  I've done some of this before, with butterflies.  This design from Embroidery Library is called the carnival Christmas ornament.  It comes in a small enough size that it can be made with just a 100 mm square hoop.

While making the free standing embroidery, a stabilizer must be used to hold the stitches together during construction.  The idea is to make the stabilizer go away afterwards.  This is done with a water soluble stabilizer.  When you are done, you just was it away.  I've been using Sulky Ultra Solvy, a heavyweight plastic like material.  However, I've been having trouble with this material tearing when dense designs punch too many needle holes in it.  At the Houston International Quilt Festival, I picked up a new kind of water soluble stabilizer that I was hoping would work much better.

 This is Embellish Rise-Away Mesh, brought to you by the fine folks at RNK Distributing.

I tried using just a single layer of the mesh for the ornament.  It didn't work well.  The stabilizer distorts quite a bit when put under too much stress.


However, unlike the needle hole problem, this can be fixed by using two layers of the stabilizer.  I think a single layer would be fine for free standing lace, but the denser free standing embroidery does a lot better with two, and this design stitched out perfectly.
My machines are still busy, so come back next week for more fun with a sewing machine (or two)!

Saturday, December 8, 2018

Husquarna Magestic Hoop

Size matters, even when it comes to embroidery hoops.  The biggest hoop out there is the Husquarna majestic hoop, which is currently only usable on the Viking Husquarna Epic sewing and embroidery machine.  I've got one of those, plus a need for size on one of my upcoming projects, so I decided to give the ginormous hoop a try.

The hoop comes with one test design for embroidery and another for quilting.  I decided to sew out the one for embroidery.

Here's the hoop itself, with some muslin.  There's a mount on both sides, under the fabric.  This hoop stitches out half the design, then you flip the hoop and it stitches out the other half.
Here's half the design.  Going to the other half, alignment is critical and some adjustments were necessary.  In fact, the amount of the adjustment required was large enough, it required rehooping to make it work.  That's a tough thing to get right, even with alignment stitches.
The final result isn't perfect, but it's off my only about a millimeter.  Most people will never notice.
There's no sense it letting this pretty embroidery go to waste.  It ends up like a lot of my experiments: as a throw pillow.  Just for scale, this is an 18"x18" pillow.

It's always fun trying out new toys and stretching my capabilities.

Come back next week for more fun with a sewing machine!


Saturday, December 1, 2018

Christmas Stocking for a Mermaid

It's that time of year when crafters of all types contemplate holiday themed projects.  I got a request for a really cool Christmas stocking, which some kind of ocean or water theme.  A fairly conventional approach might be a stocking embroidered with any of the Santa enjoying the ocean or tropics designs.  I decided to be a but more creative and ask
"What sort of a stocking might a mermaid have?"  Surely not the usual sock, since she has fins, not feet.  Also, not something fuzzy, since few creatures of the sea have fur.   With a little help from my embroidery design software, Floriani Total Control, I came up with this idea.

The embroidery design was fairly simple to put together.  There's an outline, some scales, all similar arcs, some lines for the tail and an initial.  It was designed to be the maximum possible size for my 260x360 mm hoop.
I wanted a fabric that was shiny of glittery for this project.  I also needed something opaque and strong.  I decided not to meet all the requirements with a single fabric and opted for a shiny translucent organza over an ordinary polyester-cotton broadcloth.  The broadcloth is a staple of my stash, so I had it in variety of colors.  Since this stocking is for a little girl just celebrating her second Christmas, I chose pink.  Here's the fabrics hooped together before sewing.
When all the embroidery is done, I have a fishtail with a seam line.
Since this is a three dimensional fabric, I need a second piece for a back.  I can't make a mirror reverse, like for the fleece fish.  The initial E would be backwards.  Instead, the outline is symmetrical, so I can sew two identical sides and sew them together.
 With the front and back of the stocking sewn together, all I needed to do was hem it at the top.  I added a shiny ribbon trim at the top, complete with a loop so it could be hung by the chimney with care.
I actually made a set of these for the whole family.  Mom and Dad's stockings are Christmas red and green.   I used the same organza for all, but different shades of broadcloth.

Come back week for more fun with a sewing machine!