Saturday, March 31, 2018

Island Inspired Skirts Part 2

After making a few skirts that matched the Micronesian skirts in proportions and pattern, I decided to try something a bit different.

This skirt retains the strong colors of the Micronesian skirts and the proportions of a piece 22" wide and one 11" wide.  However, the narrower piece is on the top and the wider piece is on the bottom, reversing the original arrangements. The result is basically a yoked skirt.  It does tend to emphasize the width of the hips, which is definitely not a part of Micronesian design, but can be seen in traditional Polynesian dance attire.  The bottom uses box pleats, with the interior of the pleat in a contrasting color.  I've never seen box pleats used in Micronesian design.  Another thing that does carry over is creative use of built in decorative stitches.  This skirt has no applique or embroidery.
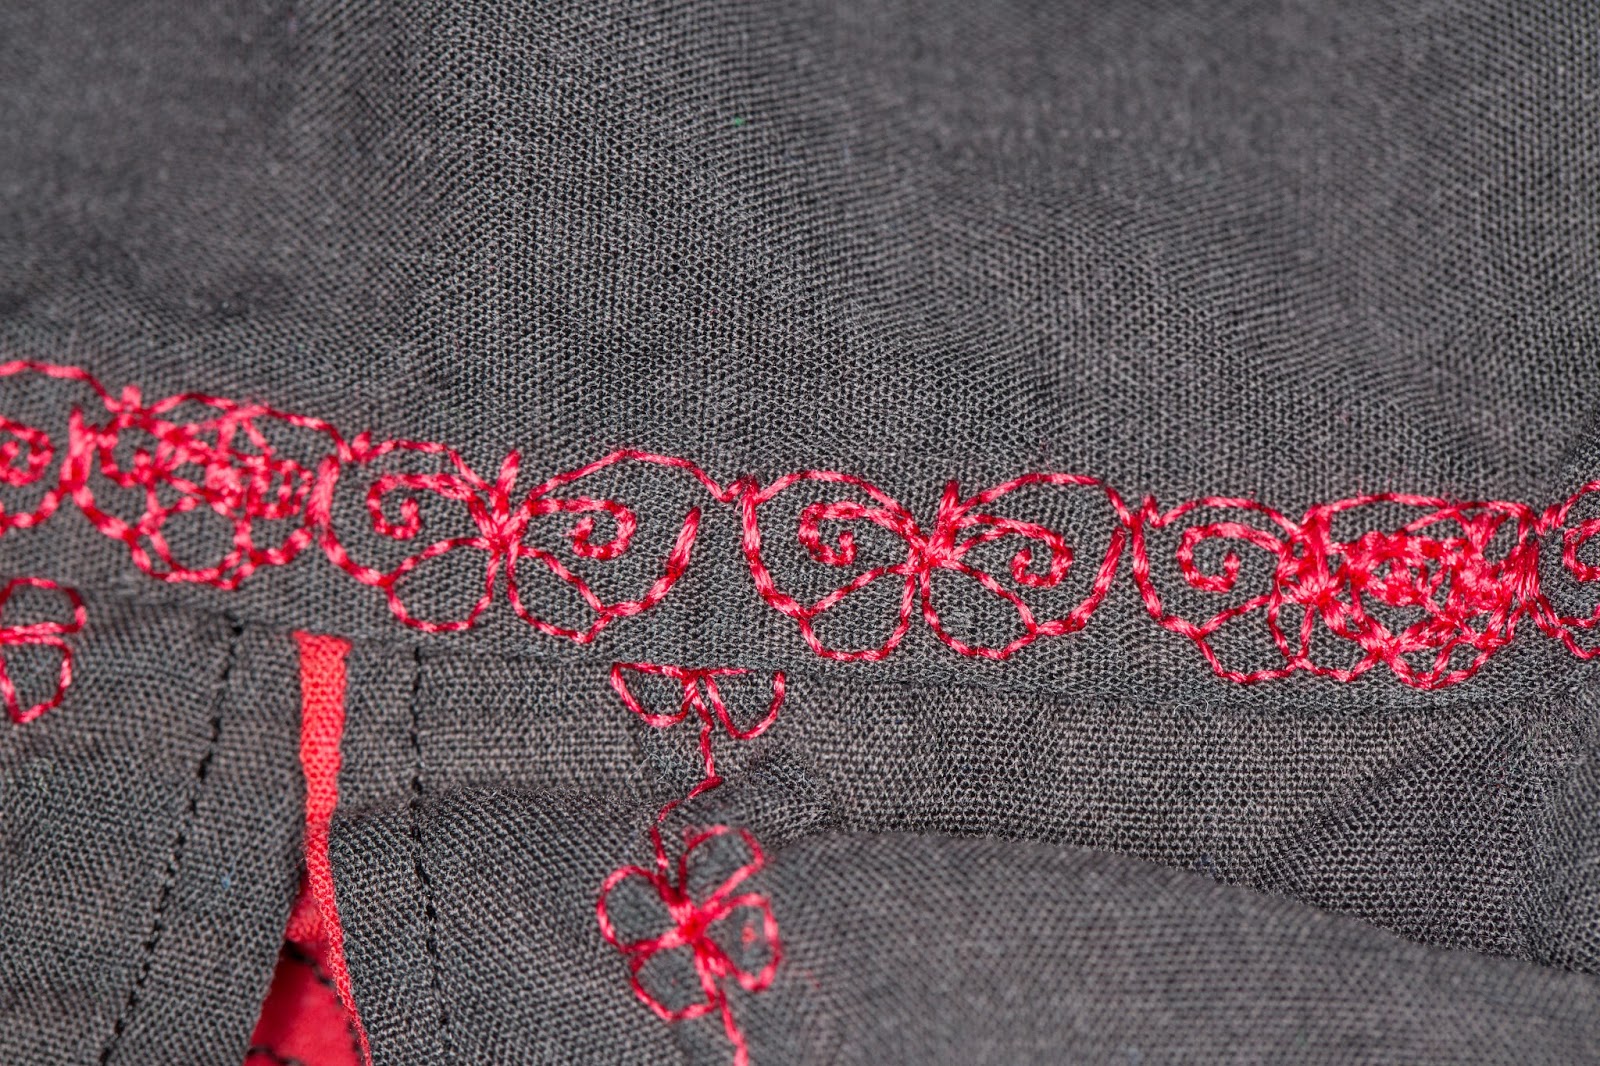
The lower skirt panels are decorated with built in decorative stitches from my Husqvarna Designer SE.  To help them stand out, I used embroidery thread rather than regular sewing thread.  This thread is a bit shinier.

The seam at the bottom of the upper panel is decorated with a butterfly stitch.  I have used this stitch on a number of skirts.

This skirt uses the same general yoke and box pleats as the previous one.  However, in a nod to the Micronesian designs, the hem is not straight.  The outer blue panels are decorated with single color embroidery.
The designs are from Embroidery Library.  There are 4 different, related designs used on the skirt.  In a nod to the blue and green colors, they are all water related designs.  As with the black and red skirt, the colors of the decorative stitching picks up the other color in the skirt.

Come back next week for some more twists on island inspired skirt design.


Saturday, March 24, 2018

Island Inspired Skirts Part 1

Last week, I talked about the skirts worn by women in Micronesia, tiny islands in the Pacific.  I was inspired by these locally designed and hand made skirts.

The fabric for all the skirts is solid colored polyester cotton broadcloth.  The polyester cotton fabric is inexpensive and easily obtained.  It's also quite a bit tougher than 100% cotton fabric, which is important for working clothes that are worn year round and washed frequently.  Polyester cotton fabrics don't breathe as well as 100% cotton, but in a loose skirt, that's hardly a problem.

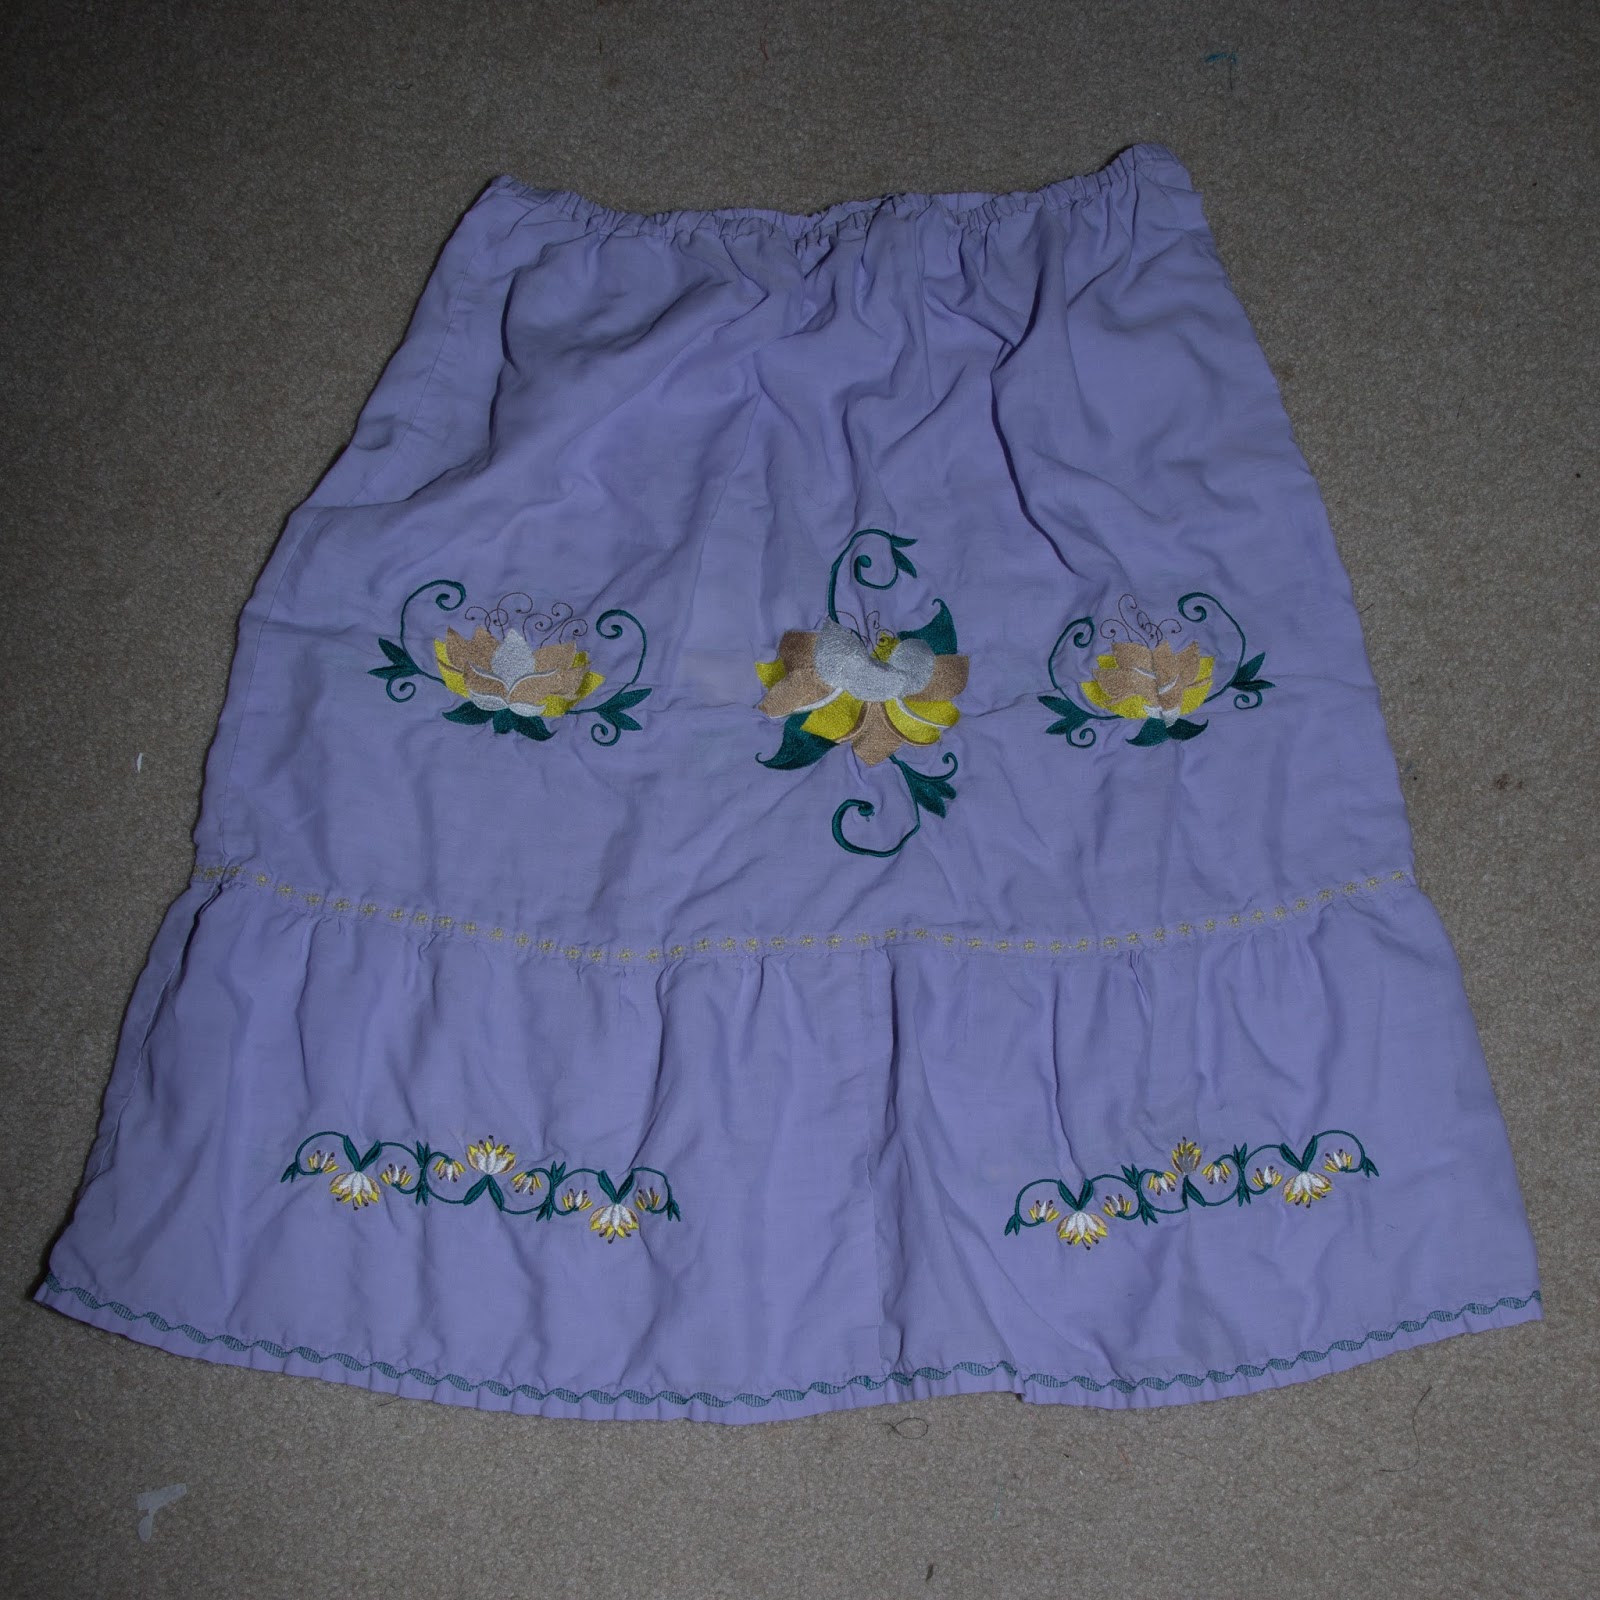
I began with the idea that hand guided machine applique is a lot of work and decided to try embroidery instead.  The lavender skirt is the result.  I was inspired by a set of lotus flower designs at Embroidery Library and decided to design a skirt around them.  Built in decorative stitches are used to decorate the hem and top of the ruffle.

I liked the wrap style skirts from Kosrae and decided to make some of those also.
This skirt was inspired by finding dark mahogany thread, exactly the color of really good, show quality Rhode Island Red chickens.   Unfortunately the placement of the rooster was not where I'd really intended it to be.  Adding the chick was my attempt to fix the problem.  Since the front of the skirt is asymmetric anyway, with the decorative stitching on the hem and at the slit, it sort of works.
The back of the skirt features white leghorn chickens, with the originally intended spacing of the embroidery.

Both these skirts have seen many years of use.  They were early efforts at embroidery, before I understood much about the uses of stabilizer.  They also have very dense designs on lightweight fabric, which did cause some puckering.  The lavender skirt eventually developed tears in the fabric at the pointy edges of the embroidery.  They are far from perfect, but they did get me started with skirt design, embroidery, and the uses of built in decorative stitches.

Come back next week for more fun with a sewing machine.


Saturday, March 17, 2018

Micronesian Skirts

I lived in the Pacific Island nation of the Republic of the Marshall Islands for many years.  In this country and the neighboring Federated States of Micronesia, women still make many of their clothes.  They are especially well known for their skirts.
In the Micronesian cultures, women never wear pants or shorts.  It's considered very immodest to show any part of the thigh, considered the sexiest part of the female body.  Skirts must be long enough to keep the knees covered, but not so long as to get wet and dirty in an environment where there's plenty of water (salt and fresh), sand, and mud.  They also have to be something that you can work in.  Micronesian women do a lot of physical labor in addition to child care, like washing clothes by hand.  They are also traditionally the gender that works in the fields, while the men fish and gather food by the shore.  The skirts also have to be tough enough to survive a lot of wearing and trips through the laundry -- these are very poor countries and people don't have a lot of clothes.

The Micronesian skirts are all hand made and all different from each other.  They are made using simple sewing machines and polyester-cotton fabrics, although the purple skirt shown above does include some polyester satin.  The decoration is with reverse applique and creative use of a handful of built in decorative stitches.  Check out the detail on the hem of the purple skirt from the island of Pohnpei.

The skirts are designed to be very efficient in the use of fabric.  The top section is 22", half of a 45" piece of cloth.  The flounce is 11", one quarter of the 45" cloth.  There's absolutely no wasted fabric here!  Since Micronesians tend to be quite short, a skirt constructed in this way is about mid-calf length on adult women.
On the neighboring island of Korsae, they have a slightly different twist on skirt design.
Instead of a flounce at the bottom, this skirt has a slit in the side seam.  I was told this is called lava-lava style, after the wrap that men wear in Fiji.
This skirt also has extensive reverse applique at them hem.  There are many layers of fabric in the bottom 6" of the skirt, which makes it hand differently than if only a sew small pieces of fabric had been used in traditional applique.
This green skirt, also from Kosrae, steps away from the strictly floral motifs to include an image of the island itself -- the sleeping lady ridgeline that gives the island it's name "Island of the Sleeping lady".  As with the other Kosraean skirt, the side seam slit isn't hidden, it's emphasized by running the floral motifs up the side of the slit.
The edge of the skirt itself at the slit is uneven.  The many layers of fabric used for the reverse applique make it stiff enough for this technique to work.

Of course, with this skirt style taking the islands by storm, there are some copy cats.
This blue skirt is from Yap, in the western most part of the Federated States of Micronesia.  It features sections from a printed fabric appliqued to the main section of the skirt and a flounce probably from the same printed fabric.  I suspect that this skirt was made not by a Yapese, but by a Filipino worker on the island.
The Chinese are active in the islands, and they created this skirt, most likely as a factory in China.  It's not hand made, but the embroidery and applique are done by machine.  The fabrics used here are nearly 100% polyester, which cuts the cost a lot.  The Micronesians do sometimes wear the Chinese made skirts, but greatly prefer the home made ones, which have cultural significance for them.

Come back next week and see how Micronesian skirt design influenced some of my projects.


Saturday, March 10, 2018

Fun with Fleece Part 6

With temperatures warming a bit, it's time to think of transitional clothes for those cooler than average (or warmer than average, for northerners) days.
This final installment in the Fun with Fleece series features a sporty jacket that's a long way from fleece's origins as an active wear fabric.  It has facings, a real collar, and button closures.  It's made from the out of print, but still available Simplicity 4032.   This pattern was specifically made for fleece and takes advantage of it's no fray property on the collar and front band.   Yes, that collar is a double layer of fleece, not sewn together at the outer edge for a unique look.
I embellished the sleeves with designs from Embroidery Library with a tropical feel.  One has hummingbirds, the other parrots. 
The designs aren't identical, but they have the same theme and feel.  I also used common thread colors where possible and chose the thread for both designs at the same time.  The result is a delightful jacket suitable for a lot of occasions and the unpredictable spring weather.

Come back next week for more Fun with a Sewing Machine!

Saturday, March 3, 2018

Fun with Fleece Part 5

It's March, so it's still cold in northern parts of the county, but the flowers are coming out in the South and Southwest.


 For those of you up north, it's time for a fun, flowery scarf to anticipate the coming season.   This simple fleece scarf is enhanced with fleece flowers.
There's lots of hand work making and attaching the flowers, but the hard work of doing all the cutting could be made a lot easier by using a cutter like the Cricut Maker.

Doesn't the fleece flower remind you just a bit of this camellia?

Came back next week for more fun with fleece!

Saturday, February 24, 2018

Fun With Fleece Part 4

It's getting to be a good time for lightweight spring jackets -- a perfect application for fleece, especially since they don't absorb water from those spring showers. 
Here's a jacket in the currently popular hip length style.  It's made from Butterick 6329, which wasn't designed for fleece, but works well with the material.  For the fabric, I chose a hand-dyed look rather than a solid in a very spring-like bright green.

Of course, I couldn't very well just leave it alone.  I chose some designs featuring plumeria flowers and butterflies from Embroidery Library (They label the flower frangipani, another name for the same thing, popular in different regions.) It isn't a spring flower, particularly, since it only grows in tropical regions, but how many people know that?
The original designs had the flowers in white and yellow, but I know that they come in pink as well, so I changed the colors to contrast better with the green.  
The designs on both the center back and on the sleeves are on top of a seam.  Just the seams under the embroidery had to be sewn before the embroidery, with all the other seems sewn after.  This isn't exactly the order described in the instructions for the pattern, but it worked well enough.  Embroidering over seams can be tricky on some fabrics, but it works really well with fleece.  Just just a solid sew-in stabilizer to make sure the design doesn't come apart at the seam later.
I wanted a small design for the front to echo the others.  I extracted this single flower using my Florini Total Control software.  Having the flower the same scale at the others works well, rather than having a whole design made small.
Here's the back of the jacket.  It's fun having something bright and spring like to wear on these days that can still be a bit chilly.

Come back next week for more fun with a sewing machine!


Saturday, February 17, 2018

School of Fish

I've been working hard with my embroidery digitizing software, Floriani Total Control. 
I had this idea that realistic stuffed fish would make excellent baby gifts, especially when constructed with durable, washable materials.  So far, all of the recipients have appeared to like them, as shown by chewing on them.
(For the fish nerds, the orange one is a flame angelfish, the blue one is a juvenile emperor angelfish, and the black one is a clown triggerfish.)

Next, I had this idea that if the deigns could be perfected, they could distribute the designs.  They are definitely colorful and unique.  None of the designs were perfect the first time.  Honestly, they weren't even perfect the second time.
This little fish is clearly missing a spot.  When I originally digitized it, I didn't use enough points on the curves and the spots were pretty angular.  I redigitized all of the spots, but clearly I missed one.  Oops!
This fin works well with a gradient fill, but extra stitches show through. 
Sometimes, two elements that are supposed to meet, don't.

What did I learn?  Digitizing is hard and takes practice.  My later efforts were clearly better than my first ones.  There's truth in the sew out, and it might take 2 or 3 tries at sewing out a pattern to get it right.  In the future, I will not assume that it's going to be perfect the first or second time I try.  I'm not going to sew on expensive or hard to replace materials without a perfect sample first.

All my attempts have resulted in a whole school of fish.  I'm sure they will all find good homes, imperfections and all.

Come back next week for more fun with a sewing machine!