Showing posts with label Embroidery Design. Show all posts

Saturday, February 2, 2019

Embroidered Tesselations Part 3

With my success with the 260mm x 360 mm hoop and my mathematical art project, I was ready to move on to the 350mm x 360 mm Husqvarna majestic hoop.   The challenge with this hoop is that the machine can only embroider half of it at a time.  To get the other half, the hoop must be turned 180 degrees and attached to the machine at a different point on the hoop.  Effectively, each design must be split into two halves and those halves must be aligned very precisely.  My previous experiments with the hoop resulted in alignment problems so bad I had to re hoop the fabric.  That wasn't going to be acceptable with my complicated and dense design.

I started by creating a design in the larger size.  This involved quite a bit of rework of the smaller design.  New details could be added and everything had to be more precise.

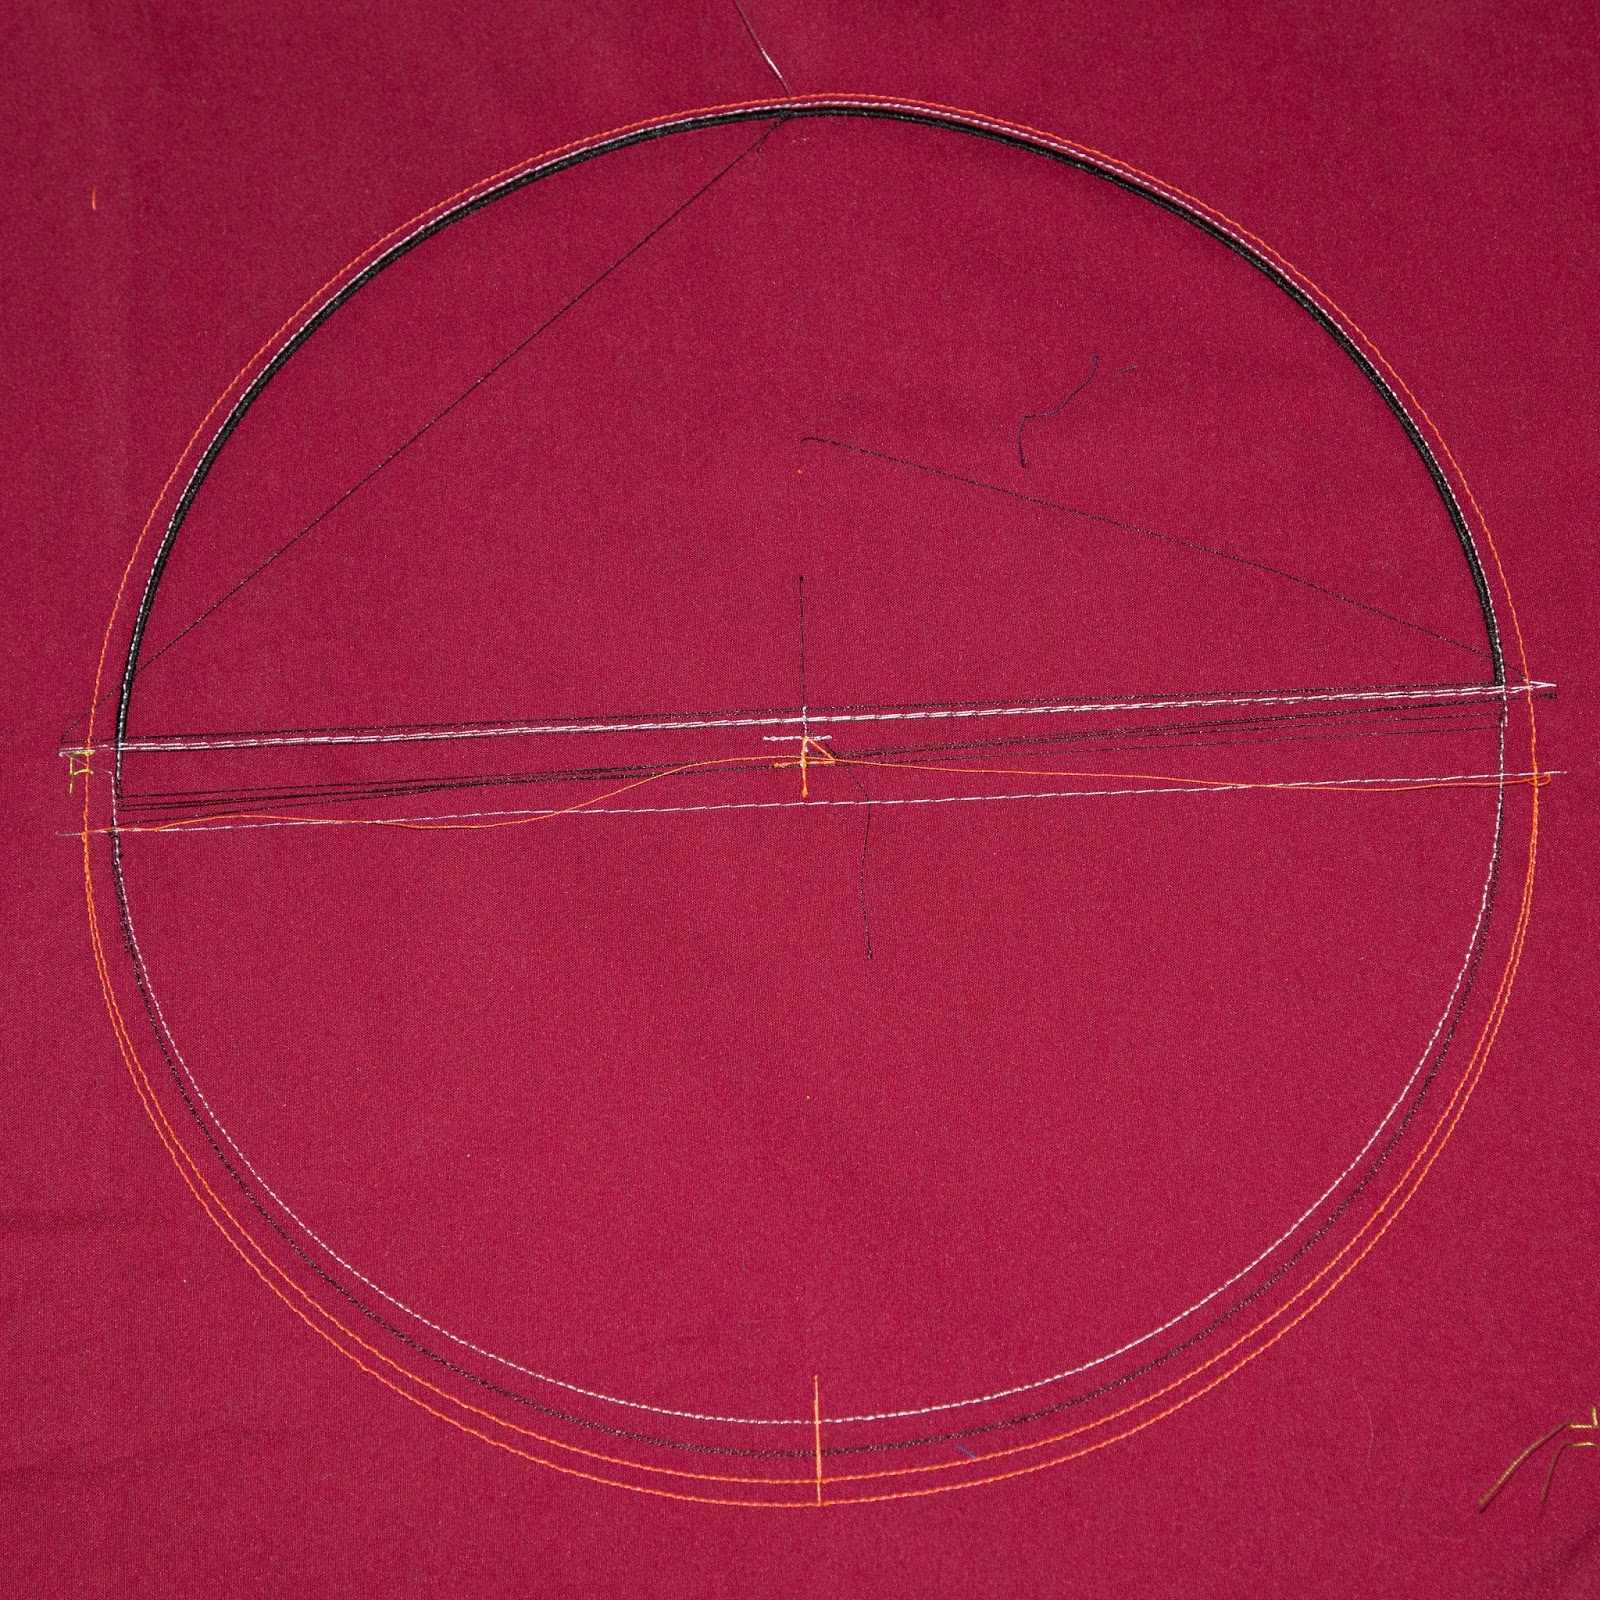
The next problem was splitting and alignment.  I decided to start with something simple -- the outer circle of my design.


It took more than a few tries just to get a circle where the two halves matched.  I learned that representing a complicated design as just some run stitches was helpful.  You find out that you messed up so much quicker.

Finally, I got to the point where I could stitch the outlines of the fish and make everything match.
This was to be the real deal.  I bought some special new thread that I thought would be better.  I was having some issues on the boundaries between the two halves, but things really came apart where I started using the green thread.  The color change went from being every 2-3" to a longer interval.  I started getting stripes in the fills.  This is NOT the effect I was looking for.  I gave up on this one.  Fortunately, I had enough of the old thread to make another design.

I used the Floriani Heat and Sta stabilizer again, since it worked well with the smaller design.   I also used the Floriani Medium weight tear away to make sure the design stayed really stable.  The bigger the design gets, the more slight stretching in the fabric can cause problems.  I also alternated embroidering on different sides.  That meant a lot of reorienting the hoop.  It took parts of three days, but the design was finished!

It's a long path from this image:

Come back next week for a completely different project!

Saturday, January 26, 2019

Embroidered Tesselations Part 2

I have been working for months on embroidering a complex image that fits the description of mathematical art.  I knew that it needed to be large to get good detail.  The largest single position hoop for the Husqvarna Epic sewing machine is 260 mm x 360 mm.   I've used this hoop for projects like the stuffed fish and had great success with it.  The next step in scaling up the image was to create the largest embroidery that this hoop could support.  It took about 2 weeks to produce a embroidery design that I thought was good enough for this project.


This design is very dense.  The entire circle is covered with one layer of stitching and sometimes more.  It needs a heavy fabric to support it.  I chose plain cotton duck canvas.

Cotton fabrics do stretch, not a good thing for a project like this, but there are ways to deal with the problem.  I used Floriani Heat n Sta stabilizer.  It is ironed on to the fabric and holds it tight.  I chose to use a second layer of regular tear away stabilizer under that.
To make sure everything stayed in place, some of the lines in the design were sewn before any of the stitches that show.  Here, the machine is just beginning to sew with colored threads.  Just as I was choosing colors, I was struck by inspiration and chose variegated thread rather than a solid thread.  This has the effect of emphasizing the direction of the stitches.  I carefully oriented the stitches in each of the fish to follow the symmetry of the design and this last minute choice makes that more obvious.

With all of the colored threads done, the design looks like this:
Now it's time to add the white and finally the black.
I was very pleased at how this turned out.  I though it was very acceptable, but I was still wanting to use the larger hoop to make the largest possible design.  Come back next week and learn about the tribulations in getting to the final finished design.

Saturday, January 19, 2019

Embroidered Tesselations Part 1

It all began with a phone call from my aunt, the very talented quilter.  A mathematical artist was looking for an embroiderer to collaborate on a project.   Was I interested?   Life can take you done some interesting paths when you say yes at the right moment.

This was the image that my collaborator, Doug Dunham of Duluth, MN created.

You might recognize it as very similar to some images by the artist M.C. Escher, famous for images with mathematical foundations.  This is a tessellation, also sometimes called a tiling.  The fish shapes, all identical, completely cover the surface.   Wait...  all identical?  This can't be!  Some are large, many are small and they aren't all the same shape.

In fact, they are all the same shape if you see this not as a regular two dimensional circle, but rather the Poincare disk, a hyperbolic geometry, where the distance between two points depends on how close to the edge they are.  In fact, it's an infinite distance from the center to the edge.

The question asked whether this image could be rendered in embroidery in some pleasing way.  Making this work would require many days with Floriani Total Control, my embroidery design software.  It was also obvious from the beginning that with an image this detailed, the larger the embroidery could be made, the more details could be included.  I knew from the beginning that the Husqvarna Majestic Hoop, at 350mm x360mm was going to produce the best results.

Here's a version of the image in embroidery at 4"x4".  Not much detail is included.  As the fish get small towards the edge, there's no way to render them.  However, as a first crack at the problem, it wasn't bad.
Come back next week and see what can be done with a 260mm x 360 mm hoop.

Saturday, December 1, 2018

Christmas Stocking for a Mermaid

It's that time of year when crafters of all types contemplate holiday themed projects.  I got a request for a really cool Christmas stocking, which some kind of ocean or water theme.  A fairly conventional approach might be a stocking embroidered with any of the Santa enjoying the ocean or tropics designs.  I decided to be a but more creative and ask
"What sort of a stocking might a mermaid have?"  Surely not the usual sock, since she has fins, not feet.  Also, not something fuzzy, since few creatures of the sea have fur.   With a little help from my embroidery design software, Floriani Total Control, I came up with this idea.

The embroidery design was fairly simple to put together.  There's an outline, some scales, all similar arcs, some lines for the tail and an initial.  It was designed to be the maximum possible size for my 260x360 mm hoop.
I wanted a fabric that was shiny of glittery for this project.  I also needed something opaque and strong.  I decided not to meet all the requirements with a single fabric and opted for a shiny translucent organza over an ordinary polyester-cotton broadcloth.  The broadcloth is a staple of my stash, so I had it in variety of colors.  Since this stocking is for a little girl just celebrating her second Christmas, I chose pink.  Here's the fabrics hooped together before sewing.
When all the embroidery is done, I have a fishtail with a seam line.
Since this is a three dimensional fabric, I need a second piece for a back.  I can't make a mirror reverse, like for the fleece fish.  The initial E would be backwards.  Instead, the outline is symmetrical, so I can sew two identical sides and sew them together.
 With the front and back of the stocking sewn together, all I needed to do was hem it at the top.  I added a shiny ribbon trim at the top, complete with a loop so it could be hung by the chimney with care.
I actually made a set of these for the whole family.  Mom and Dad's stockings are Christmas red and green.   I used the same organza for all, but different shades of broadcloth.

Come back week for more fun with a sewing machine!

Saturday, August 18, 2018

A New Fish Joins The School

I've been experimenting with creating stuffed fish for children's toys.  I decided it was time to add another fish to the collection.


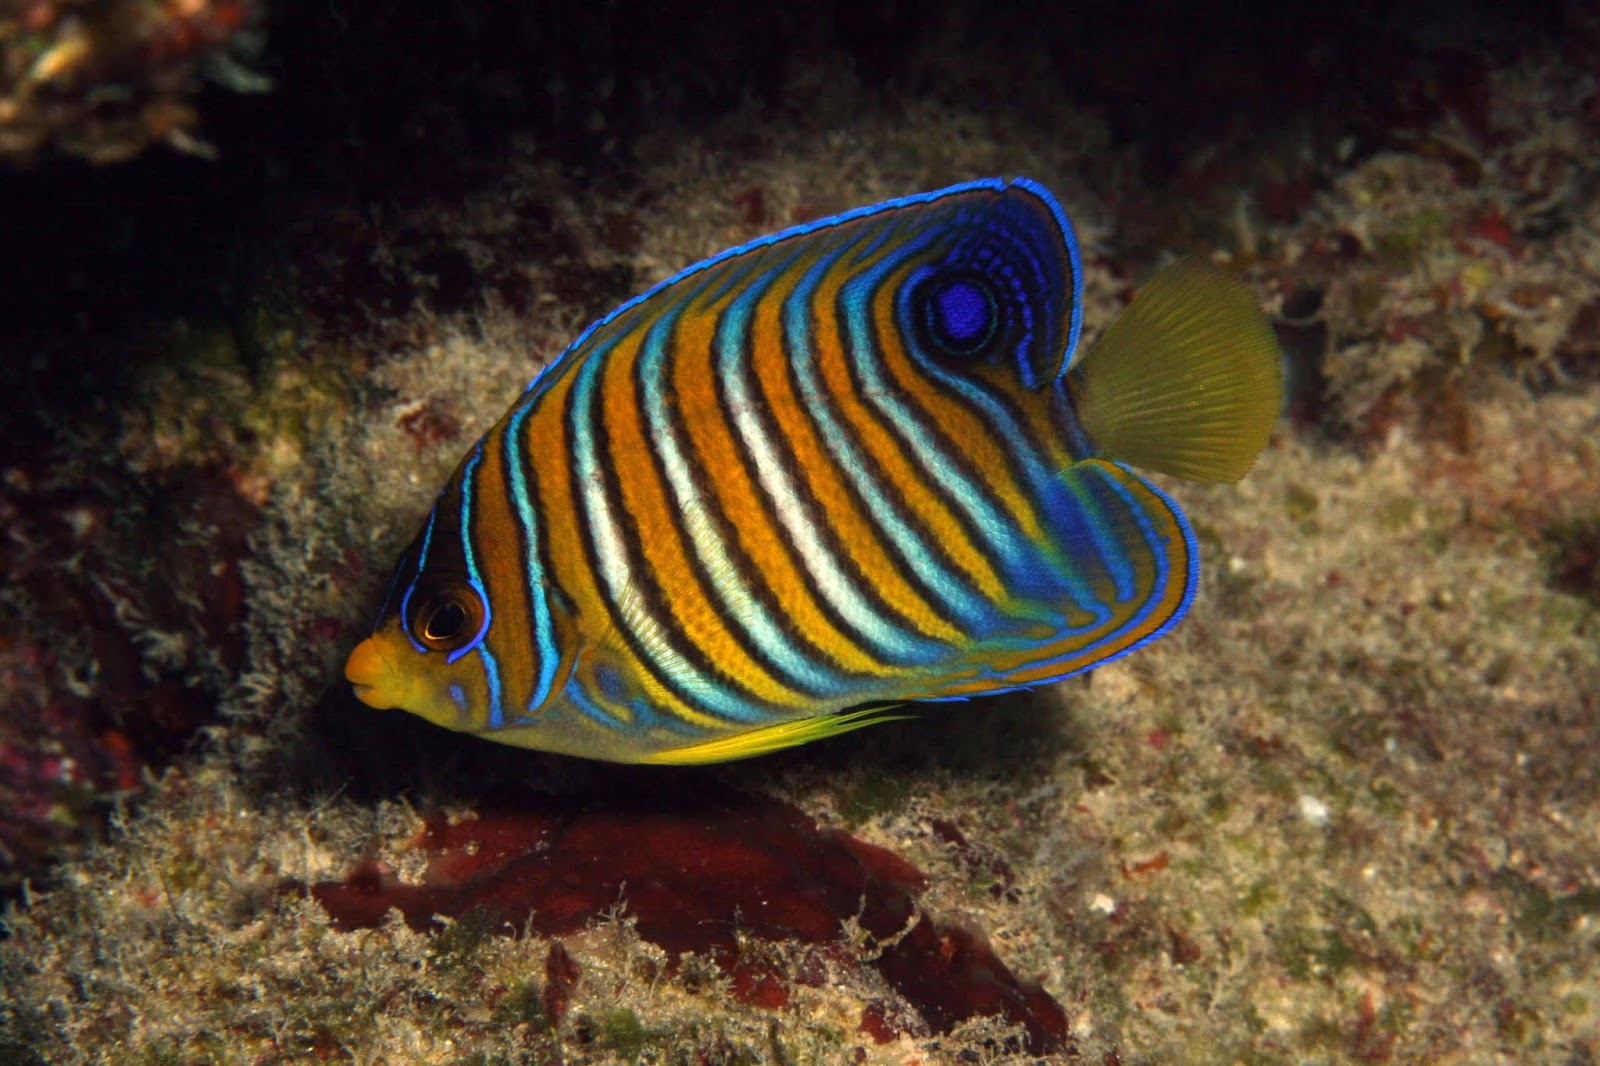
This fish is a Regal Angelfish, another colorful Indo-pacific species.

The process begins with a photograph, again one of my own.

Using Floriani Total Control embroidery design software, I'm able to define lines and regions from the photograph and then figure out how to embroider them.  Since the fish is more orange than any other color, I'm starting with plain orange fabric.

Once the embroidery design is complete, I end up with a file like this:


Now all that remains is to sew it out.  Easier said than done.
 Things went wrong on this attempt.  The hoop hit a wall and the sewing machine lost track of exactly where it was at.    The registration of the various pieces is now wrong, since the yellow ring is supposed to go around the black circle of the eye.  There's no fixing this, it's a do-over, after moving the machine farther from the wall!

This attempt looks better, but a closer look reveals new issues.

When the design was scaled up from the size of the photograph to the size desired for sewing, the white stripes and black edges acquired some distance between them.
If you didn't know this fish, you might not think this was a problem, but I'm a stickler for my fish.  This problem had to be fixed with quite a bit of work back in the design software.

Finally, all the pieces came together and I produced a good fish and it's mirror reverse, for the opposite side.
I just sew these together, stuff them, and there's a good toy for a baby.  It's 100% washable, with nothing to fall off and get swallowed.  Lots of kids get Teddy Bears, but how many end up with a very realistic stuffed fish?  Only a few.

Come back next week for a new home decorating project.

This blog has been on hiatus while I dealt with moving to a new house.  it will continue weekly in the future.