Showing posts with label Bernina Jumbo Hoop. Show all posts

Saturday, November 11, 2017

Custom Dive Flag

I received a request from a friend to make a dive flag for the Wake Island Scuba Club.  This isn't something they could send out locally because Wake Island is a tiny sandbar in the middle of the Pacific Ocean and a long way from anywhere.  The idea was to use embroidery and/or applique to create the design.


Here is the original design.  The essential elements are apparently the red and white "divers down" flag, the outline of the island and the shark.  This design does have details that would be hard to capture with applique or embroidery, so some modification for the new medium is required.  There's also the question of exactly what items would be best executed with embroidery vs. applique.
I started with a JPG map of Wake Island.
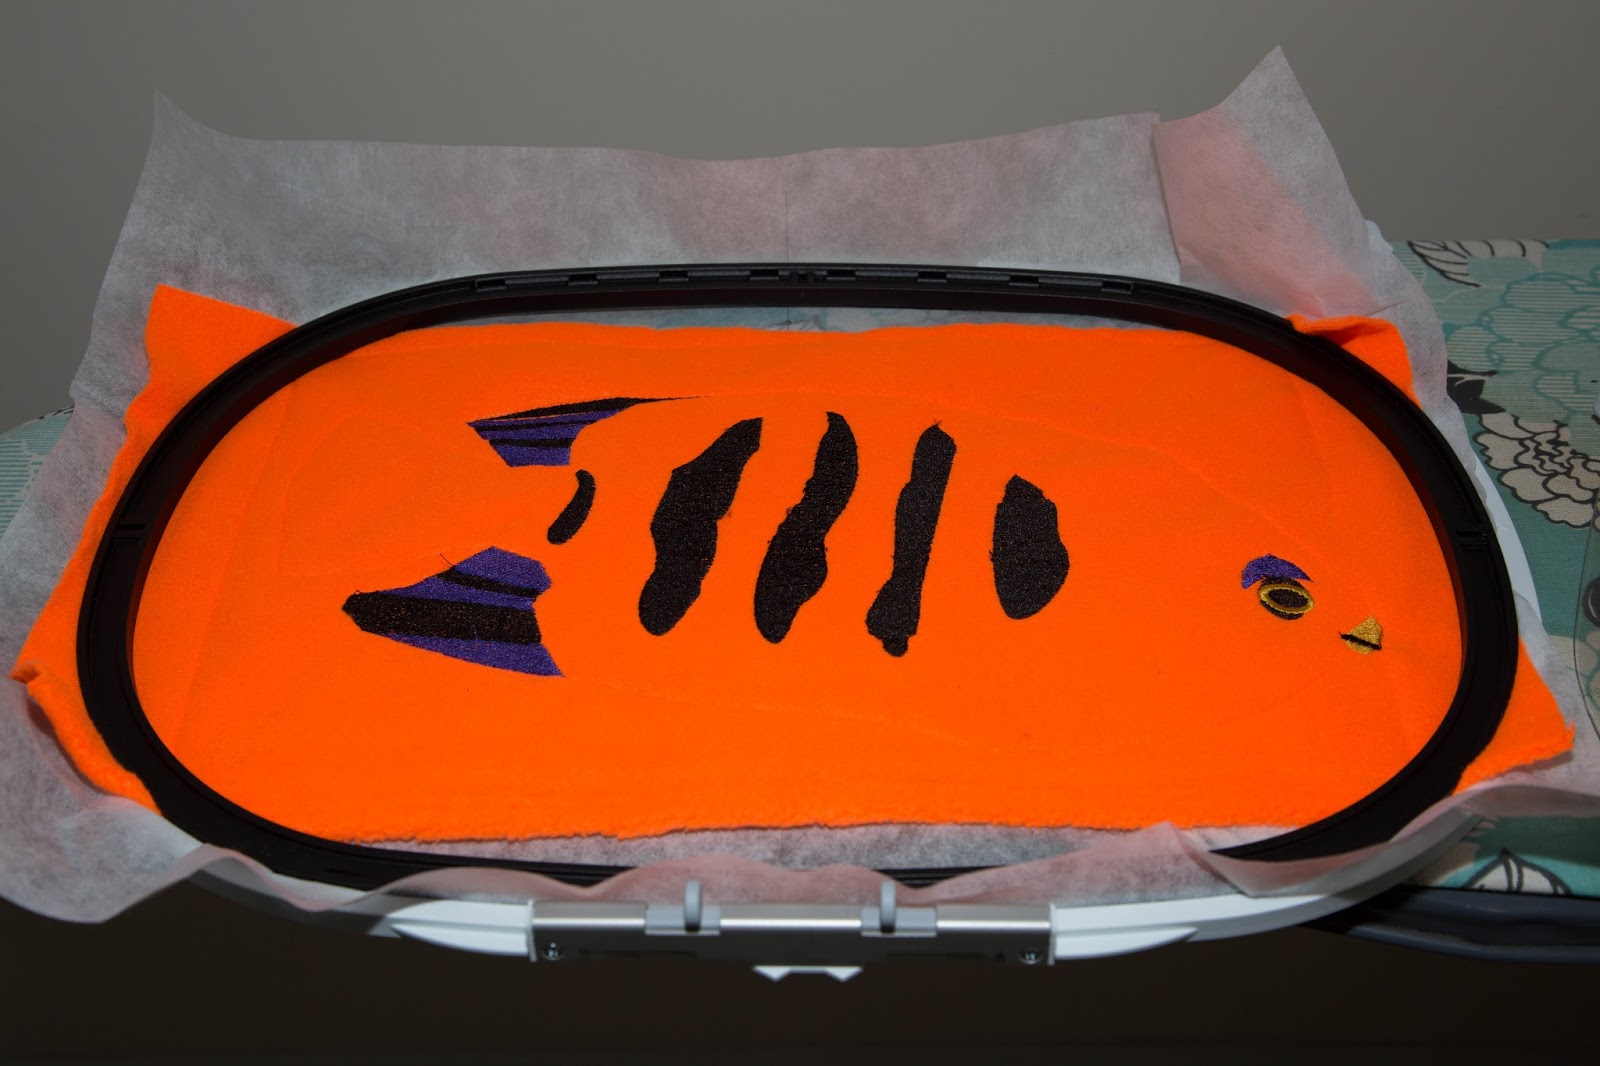
I was able to bring this image into my Floriani Total Control embroidery design software as a background and then digitize the outline of the island.  (Actually, there are 3 islands here.)  I was able to do the same with the shark, picking out the eyes, mouth and gills as essential details to retain.
Here's the final design.  There's some big areas to be covered in both black and grey, so I decided to do these as applique and leave the shark details and lettering as embroidery.  The island and shark have to be worked as one piece, so the maximum size of the design is set by what will fit in my Bernina Jumbo Hoop.  The shark is superimposed on the island, so the island must be appliqued first, with the shark on top.  To maximize the size of the design, the lettering is done separately from the applique, after rehooping the fabric.

The first task was to create the flag itself.   The flag and all the applique are made from heavy weight flag nylon.  Some of this was obtained locally and some of it was sourced from Sailrite, an internet retailer of anything and everything related to both boats and fabric.  Sailrite also had the special flag tape and nice grommets for finishing the flag.

There's no standard dimension for dive flags.  After some research, I found that common aspect ratios for flags include 3:2 and 5:3.   I chose to use 5:3 although on further consideration 3:2 might have been better.  With the size of the applique design set by the jumbo hoop, I elected for a 30"x18" finished size for the flag.
I used paper to create patterns for the flag.  I wanted the white stripe to be nice and visible, so it's 6" wide.  The cutting mat marked in 1" squares sure made the job of creating the pattern a lot easier.
Here's the finished flag.  The seams for the white stripe are all flat-felled seams and the three edges are hemmed.  The left edge is bound with flag tape and set with brass washer grommets.  This finish isn't strictly necessary since this is going to be a wall decoration rather than flown as a flag, but it's a good finishing touch.

With the flag complete, it's time to move on to the ornamentation.
The applique design is printed at 100% scale and then cut out.  The paper pieces are applied to the black nylon with temporary fabric adhesive.  Then the pieces are cut from the fabric.
The machine is busy appliqueing the outline of the island.  It's a very complex shape, much more suited to machine applique than hand guided applique.  Once the island is down, the shark is appliqued on top, and then the eyes, mouth and gills of the shark are embroidered.

I used just a simple tear away stabilizer for this project.  The fabric is dimensionally stable, so a sticky stabilizer is not required.  There needs to be no stabilizer remaining on the back of the flag, so the simple design a tear-away met that requirement nicely.  The top and bottom lettering was done with two different hoopings of the fabric.

This project has already been sent off to Wake Island.  My projects are certainly getting world wide exposure!

Come back next Saturday for an all new project that's also related to water.


Saturday, September 16, 2017

Stuffed Fish Toy

This week's story begins with a fish.  A rather annoying fish, actually, since it has the habit of diving for the rocks anytime a camera comes near.  However, the flame angelfish is one of the more colorful inhabitants of Micronesian coral reefs and I thought it would make a fun project to make a stuffed child's toy that resembles this fish.  My friends do have children now and then, and some of them will even recognize this fish.  The idea is to make all of the ornamentation on the toy with embroidery.  That way, there's nothing that can come off, or be chewed off and harm a child.  Using polyester fleece and polyester fiberfil, it's also possible to construct a toy that will withstand many trips through the laundry, which is definitely a necessity when it comes to small children.

I started this project with a photograph.  I took this picture in the fish's native habitat.  (OK, so I have hobbies other than sewing, like underwater photography and scuba diving.)  It took a long time to find a sort of cooperative fish, but I have a lot of patience. 
I loaded the photograph as a background into the Floriani Total Control embroidery design software.  Then I used design tools to create the irregular black bars, eyes, and fins.  Only three colors were used -- black, purple, and golden yellow. The design was sized so that it just fit in the Bernina jumbo hoop. 
I used Floriani Heat N Sta as the stabilizer for the fleece.  It has some stretch, so a stabilizer than adheres to the back of the fabric is very helpful in getting a good result.  The really nice thing about this product is that that it is a bit like an iron-in interfacing.  It gets sticky when hot, but doesn't gunk up the needles when sewing.  After sewing, it can be just torn away.   As before, I put a layer of cheap tear away stabilizer behind it, just to get a piece big enough to hoop, and then sewed together all of the layers.
It took a while to make all the black bars, but the jumbo hoop and stabilizers held the project steady.
Once the embroidery was complete, I has two fish, each a mirror reverse of the other.  A line of stitching indicates the seamline to sew together the two halves of the fish.
Cutting out the pieces, sewing them together, and then stuffing it was easy.  Now I have a very unique stuffed fish!  There's other fish that might work well for this same kind of project.

Maybe the clown trigger is a good candidate?

Come back next week for more fun adventures with a sewing machine.  See how I tackle the problem of the winter wardrobe!

AAA

Saturday, September 9, 2017

New Purse and the Jumbo Hoop

While at the Huntsville Hamfest, one of my fellow amateur radio operators, saw my purse, the one I specifically designed for this hobby.  I wrote about it here, theree weeks ago.  She wanted one for herself and I agreed to make one.  Here's a picture of the final result, with part of her call sign covered to protect her privacy.  She specifically requested the red and white color scheme and the materials are microsuede, as before.


When I made the original purse the radio applique was done with hand guided techniques.  That worked, but it's not the only way to achieve the desired result.

I've had this Bernina Jumbo Hoop lurking in the sewing room.  Just learning to use the machine has been intimidating, so I'd never gotten the hoop out of the box.  However, it's just the thing for this project since it let me do all of the embroidery and applique without removing the fabric from the hoop.
The flowers and lightening bolts are commercially available embroidery patterns available from Embroidery Library.  The radio applique was original work. I decided to keep the radio as applique.  Part of the reason is the need for a mesh panel, so that the radio can be heard, even when in the purse.  I fired up my Floriani embroidery design software and used simple shapes to construct the radio as an applique.  Then I just added the lightening bolts, flowers, and the call sign as text.
I printed the embroidery pattern and laid it over the purse front as a test fit.  Work on in the design software to get all the elements of the design in the right place worked well, with a couple of iterations.

The next challenge was to figure out how to hoop the project.  I like cut away stabilizer for this project, since it can be left whole as interfacing for the purse.  However, the cut away stabilizer isn't wide enough to work in this hoop!  Instead, I cut the cut away stabilizer as interfacing, just the same size as the purse front.  Then I got a roll of 20" wide tear away stabilizer and created a piece big enough for the jumbo hoop.  Finally, I sewed all three layers together and then hooped it.

The first part of the embroidery was create the radio.  I started with a sew out of the outline of the radio and mesh window.
Next, I attached the black applique fabric to the front of the purse using a spray-on fabric glue.  Then I attached the mesh to the back of the project with masking tape (available in the paint section of your local hardware store). 
I finished the applique and then the rest of the embroidery, resulting in a very nice purse front.
The red and black fabric, along with the stabilizers, was cut away from in front of the mesh window.

The lining of the purse requires a matching mesh window to line up with the one on the front of the purse.  This can be made somewhat larger than the circle in the front. In this view, the lining is on top of the purse front and the table can be seen through 2 layers of mesh.
 A pocket is sewn on top of the lining mesh window to hold the radio.  Elastic in the top of the pocket holds the radio in place.

After the lining and the outside of the purse are complete, the two are sewn together at the top, resulting in a nice finished project.

This was an interesting project because it involved learning new things with the embroidery software, which I am still struggling to master and using new hardware, the jumbo hoop.  Working with the hoop went a lot more smoothly than I'd ever hoped for.  

Check back next week for an all new project with the jumbo hoop!